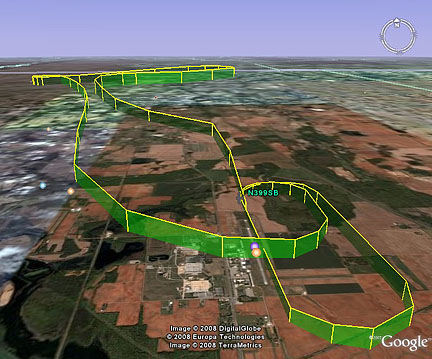
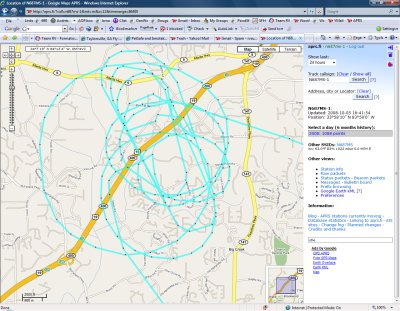
APRS is a method of sending data, via 2 meter ham radio band frequency, from a transmitter in your vehicle to the ground via ham listening locations(digipeters). Once this data is captured, it can be fed to the internet in real time. My track page here.Ham folks have been doing this in cars for years, but lately some aviation buffs have decided to get this airborne. And it works. Via the web, you can see realish time where you are and where you have been. Every flight. Pull into Google Maps or Google Earth and Wallah, you have geeked out into APRS and the Internet. Here is an example of what you will see in the picture below. Actual routes, speeds, altitudes, and so forth. A nice discussion forum here. To the folks that have paved the road before me and made this easy, hats off to you. Pete, Sam and the rest of you. You inspired me to giver her a try. Playing with stuff like this is EXACTLY why I own an experimental. This is a pretty cool intermix of very old and very new technology. Im mean how cool, burring data packets in radio waves. Neat. Info on my I-Gate here using windows. And an iGate with a Rasberry Pi here.
And the Google Earth version
What's the point
There are 3 points. First safety. While my airplane has an emergency locator transmitter in it, that only works if someone is listening to it. Many many a pilot has died waiting for help to arrive. With this system, when your honey starts getting worried after a couple hours of you being late, she can jump on the web and see if you were flying, and if you crashed, she will know exactly where you went in.... To the foot. Now thats cool.
Next is the fun factor. There are lots of ways to utilize this system, but its pretty cool to track what your doing. Friends know when you will arrive. Family knows when to pick you up. Normally I file IFR to get this information to family and friends via flightaware. Well I wont file into the system for that reason any more. Now they can just click and see me.
And finally, I cant tell you how many times my phone rings when a plane crashes. "Mike was that you on the news" Somehow if a plane went in, I must be the one cause Im the only guy flying right? Well now they can just click and see if I was even flying today, or this week.
The System
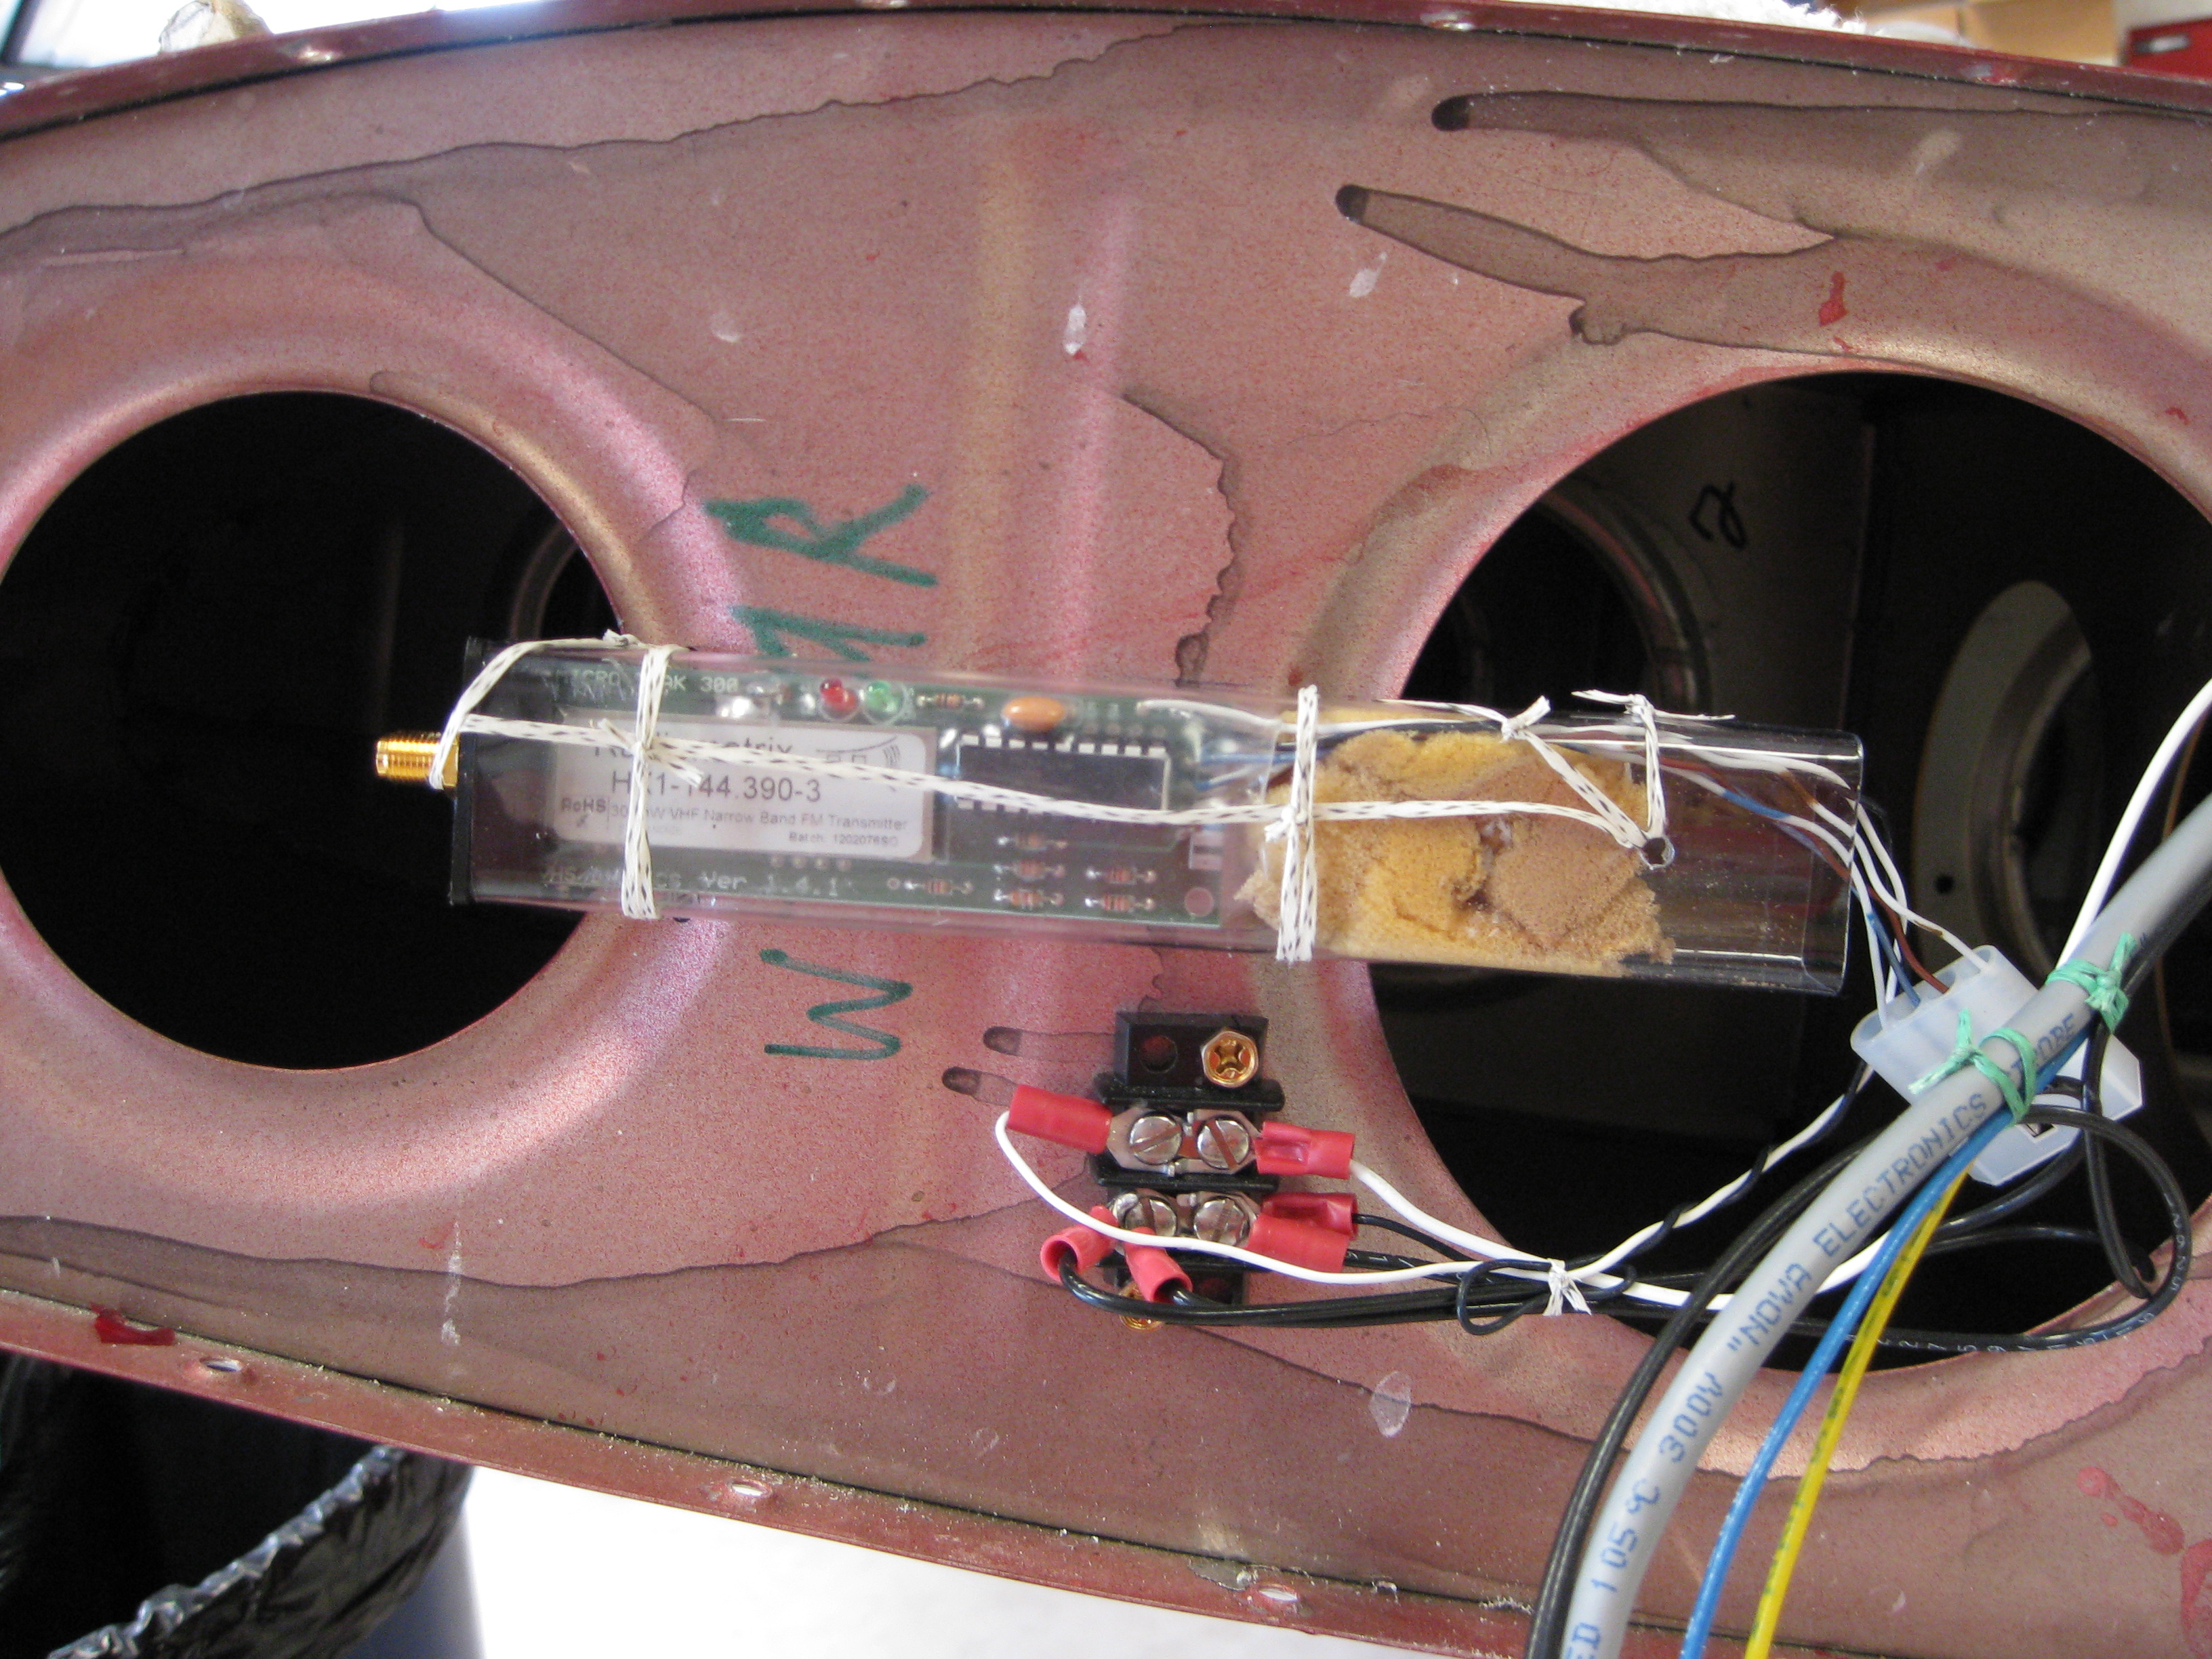
In the airplane consists of 2 devices. One is a simple GPS. Small, light weight, easy to install anywhere. Next is the new part to me, a tiny 2 meter FM transmitter. Now a real ham guy would go out and build his own. Im not that guy. I dont care to be a ham nut. Ill spend the $100 for a completed version. Byonics makes one especially for this purpose called the Microtrak.
![]()
Getting your license.
As as result of the type of transmission, you need a ham radio license. The simplest form is necessary called the technician license. There are tests on-line and its easy enough to get.
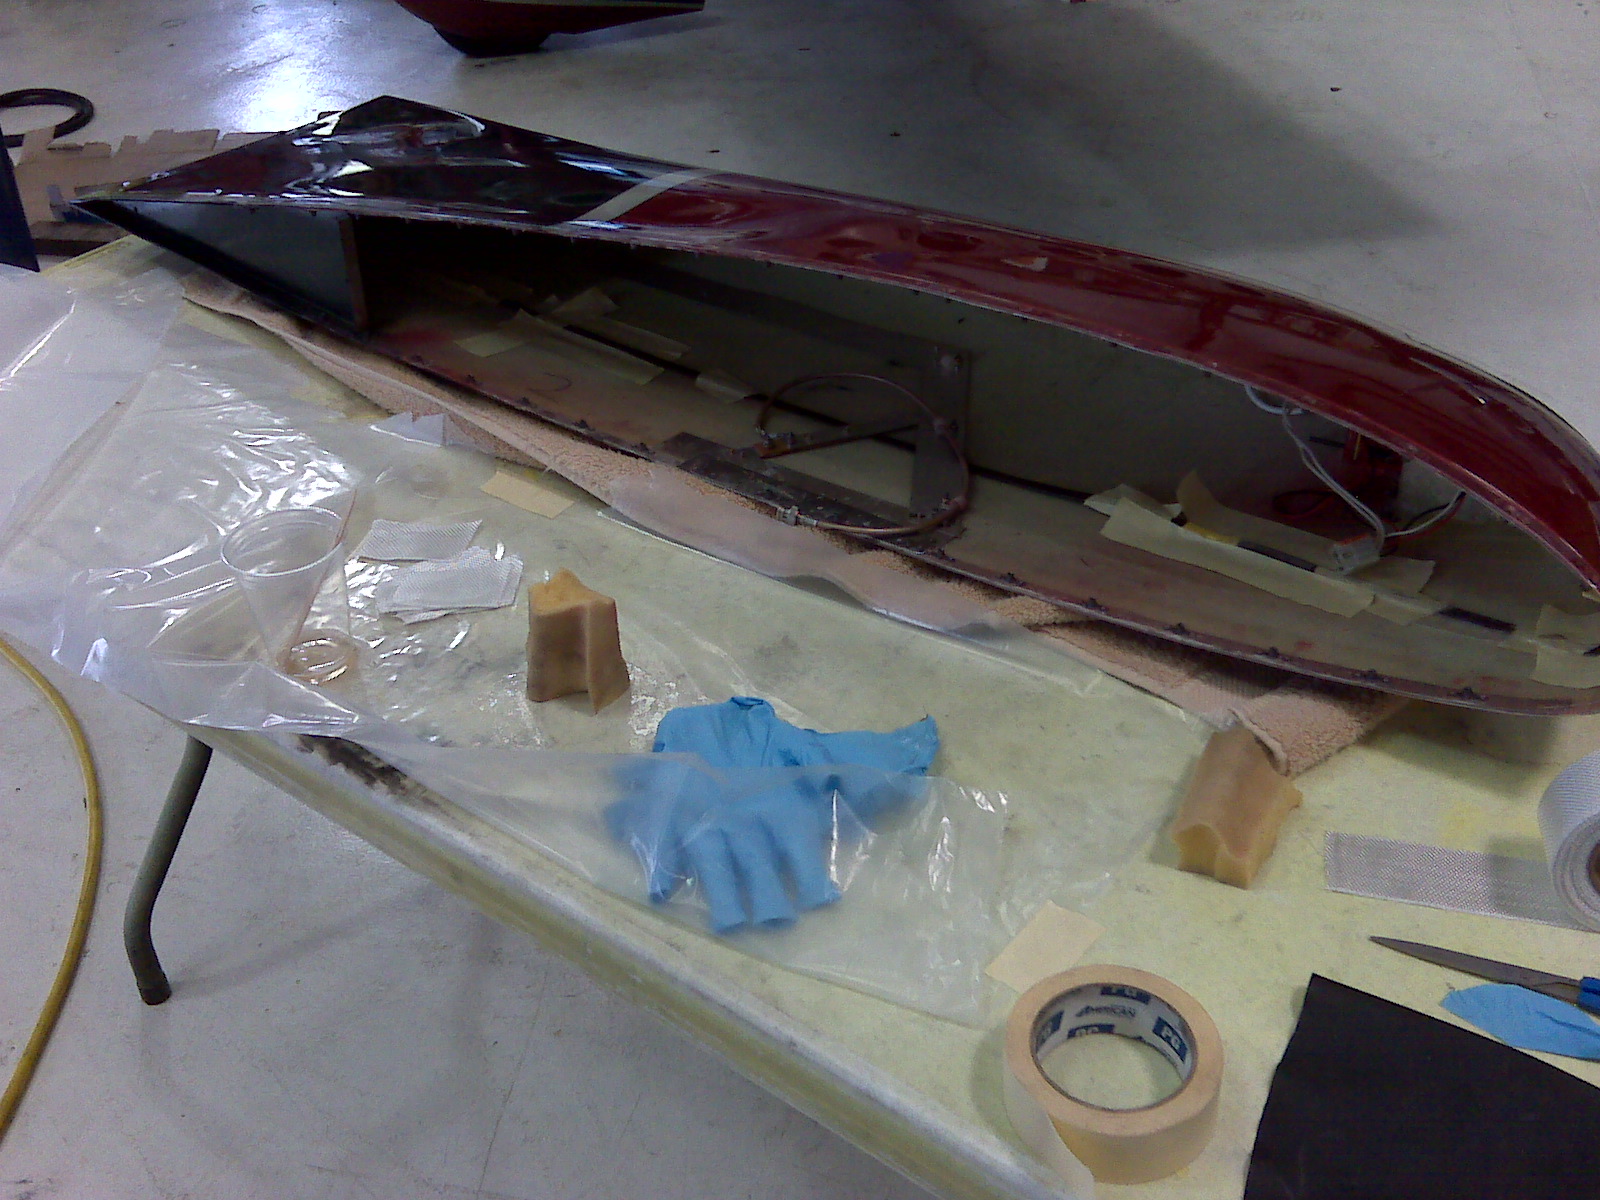
Installation
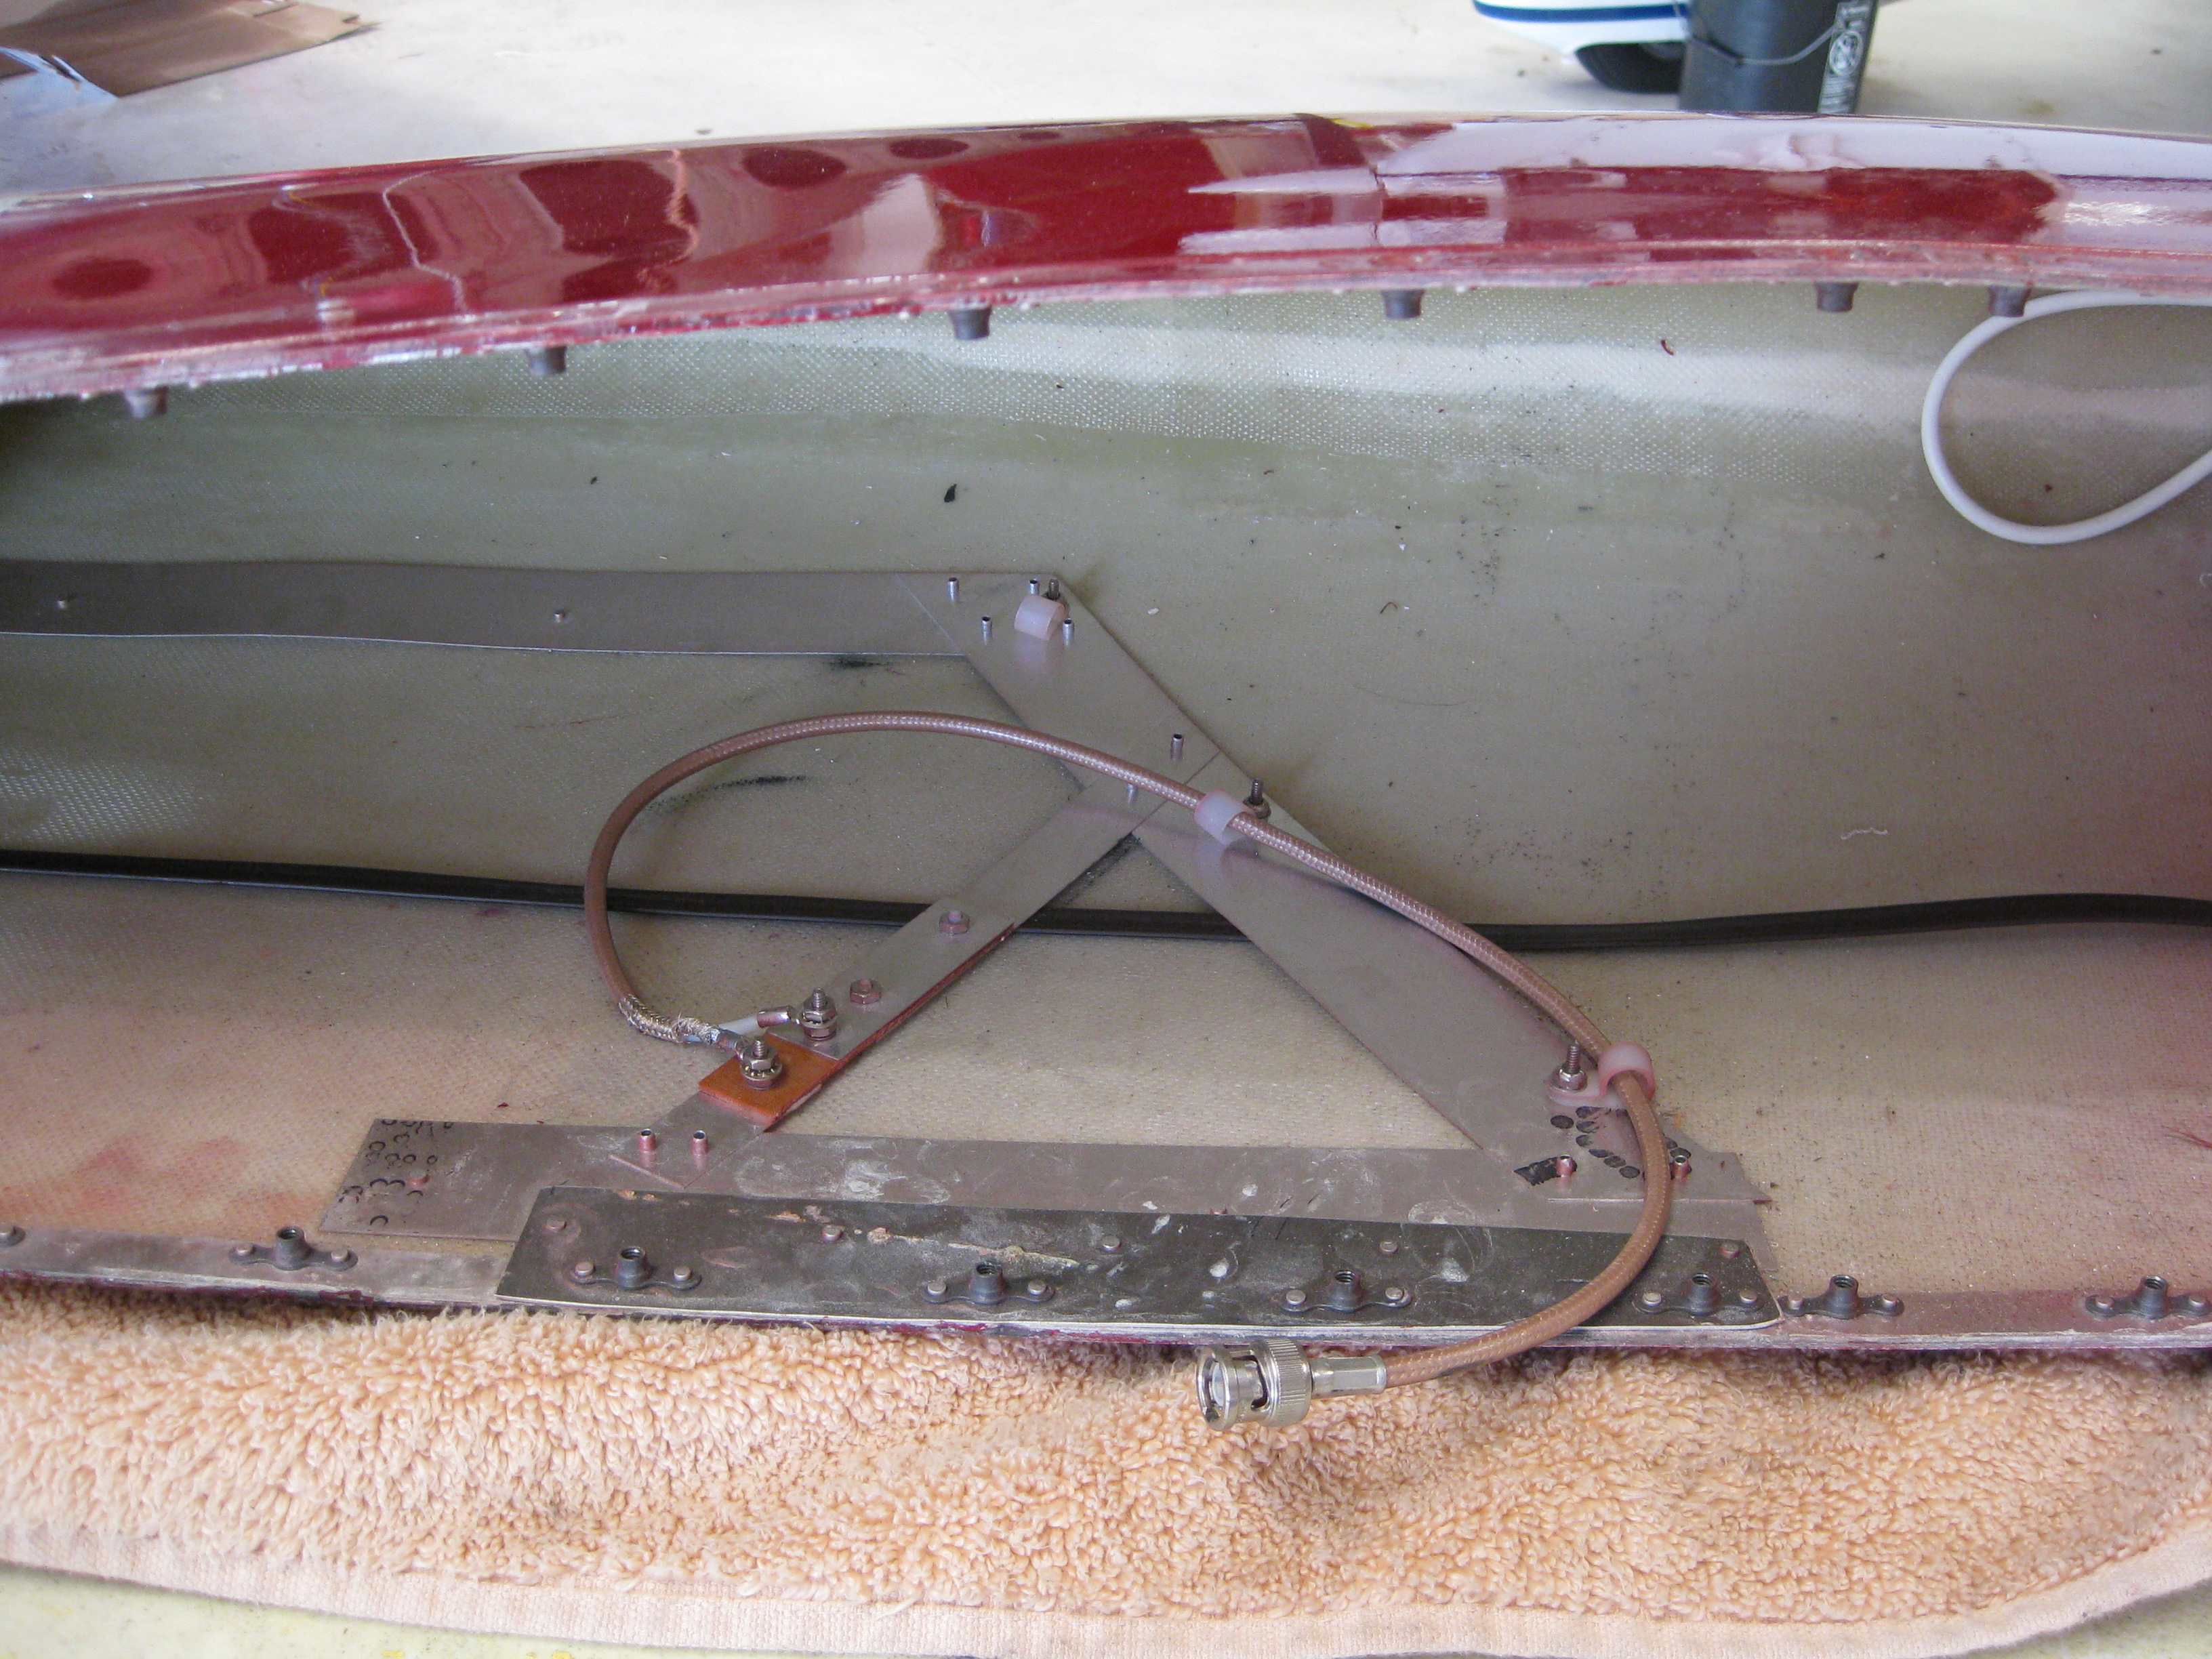
Design Goals.. Simple, lightweight, serviceable, out of sight out of mind, controllable via off switch in the cockpit. You know I dont always WANT a running history of my flight tracking:). Here is my buddy Sams Install. Im just getting started. I ordered the $25 J-pole antenne from Ryan. Installed it in my left wingtip. Glass in a few places and done. Some nice pictures of his installation here.
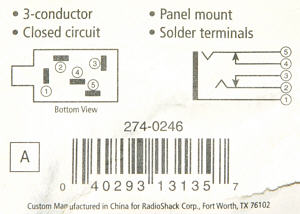
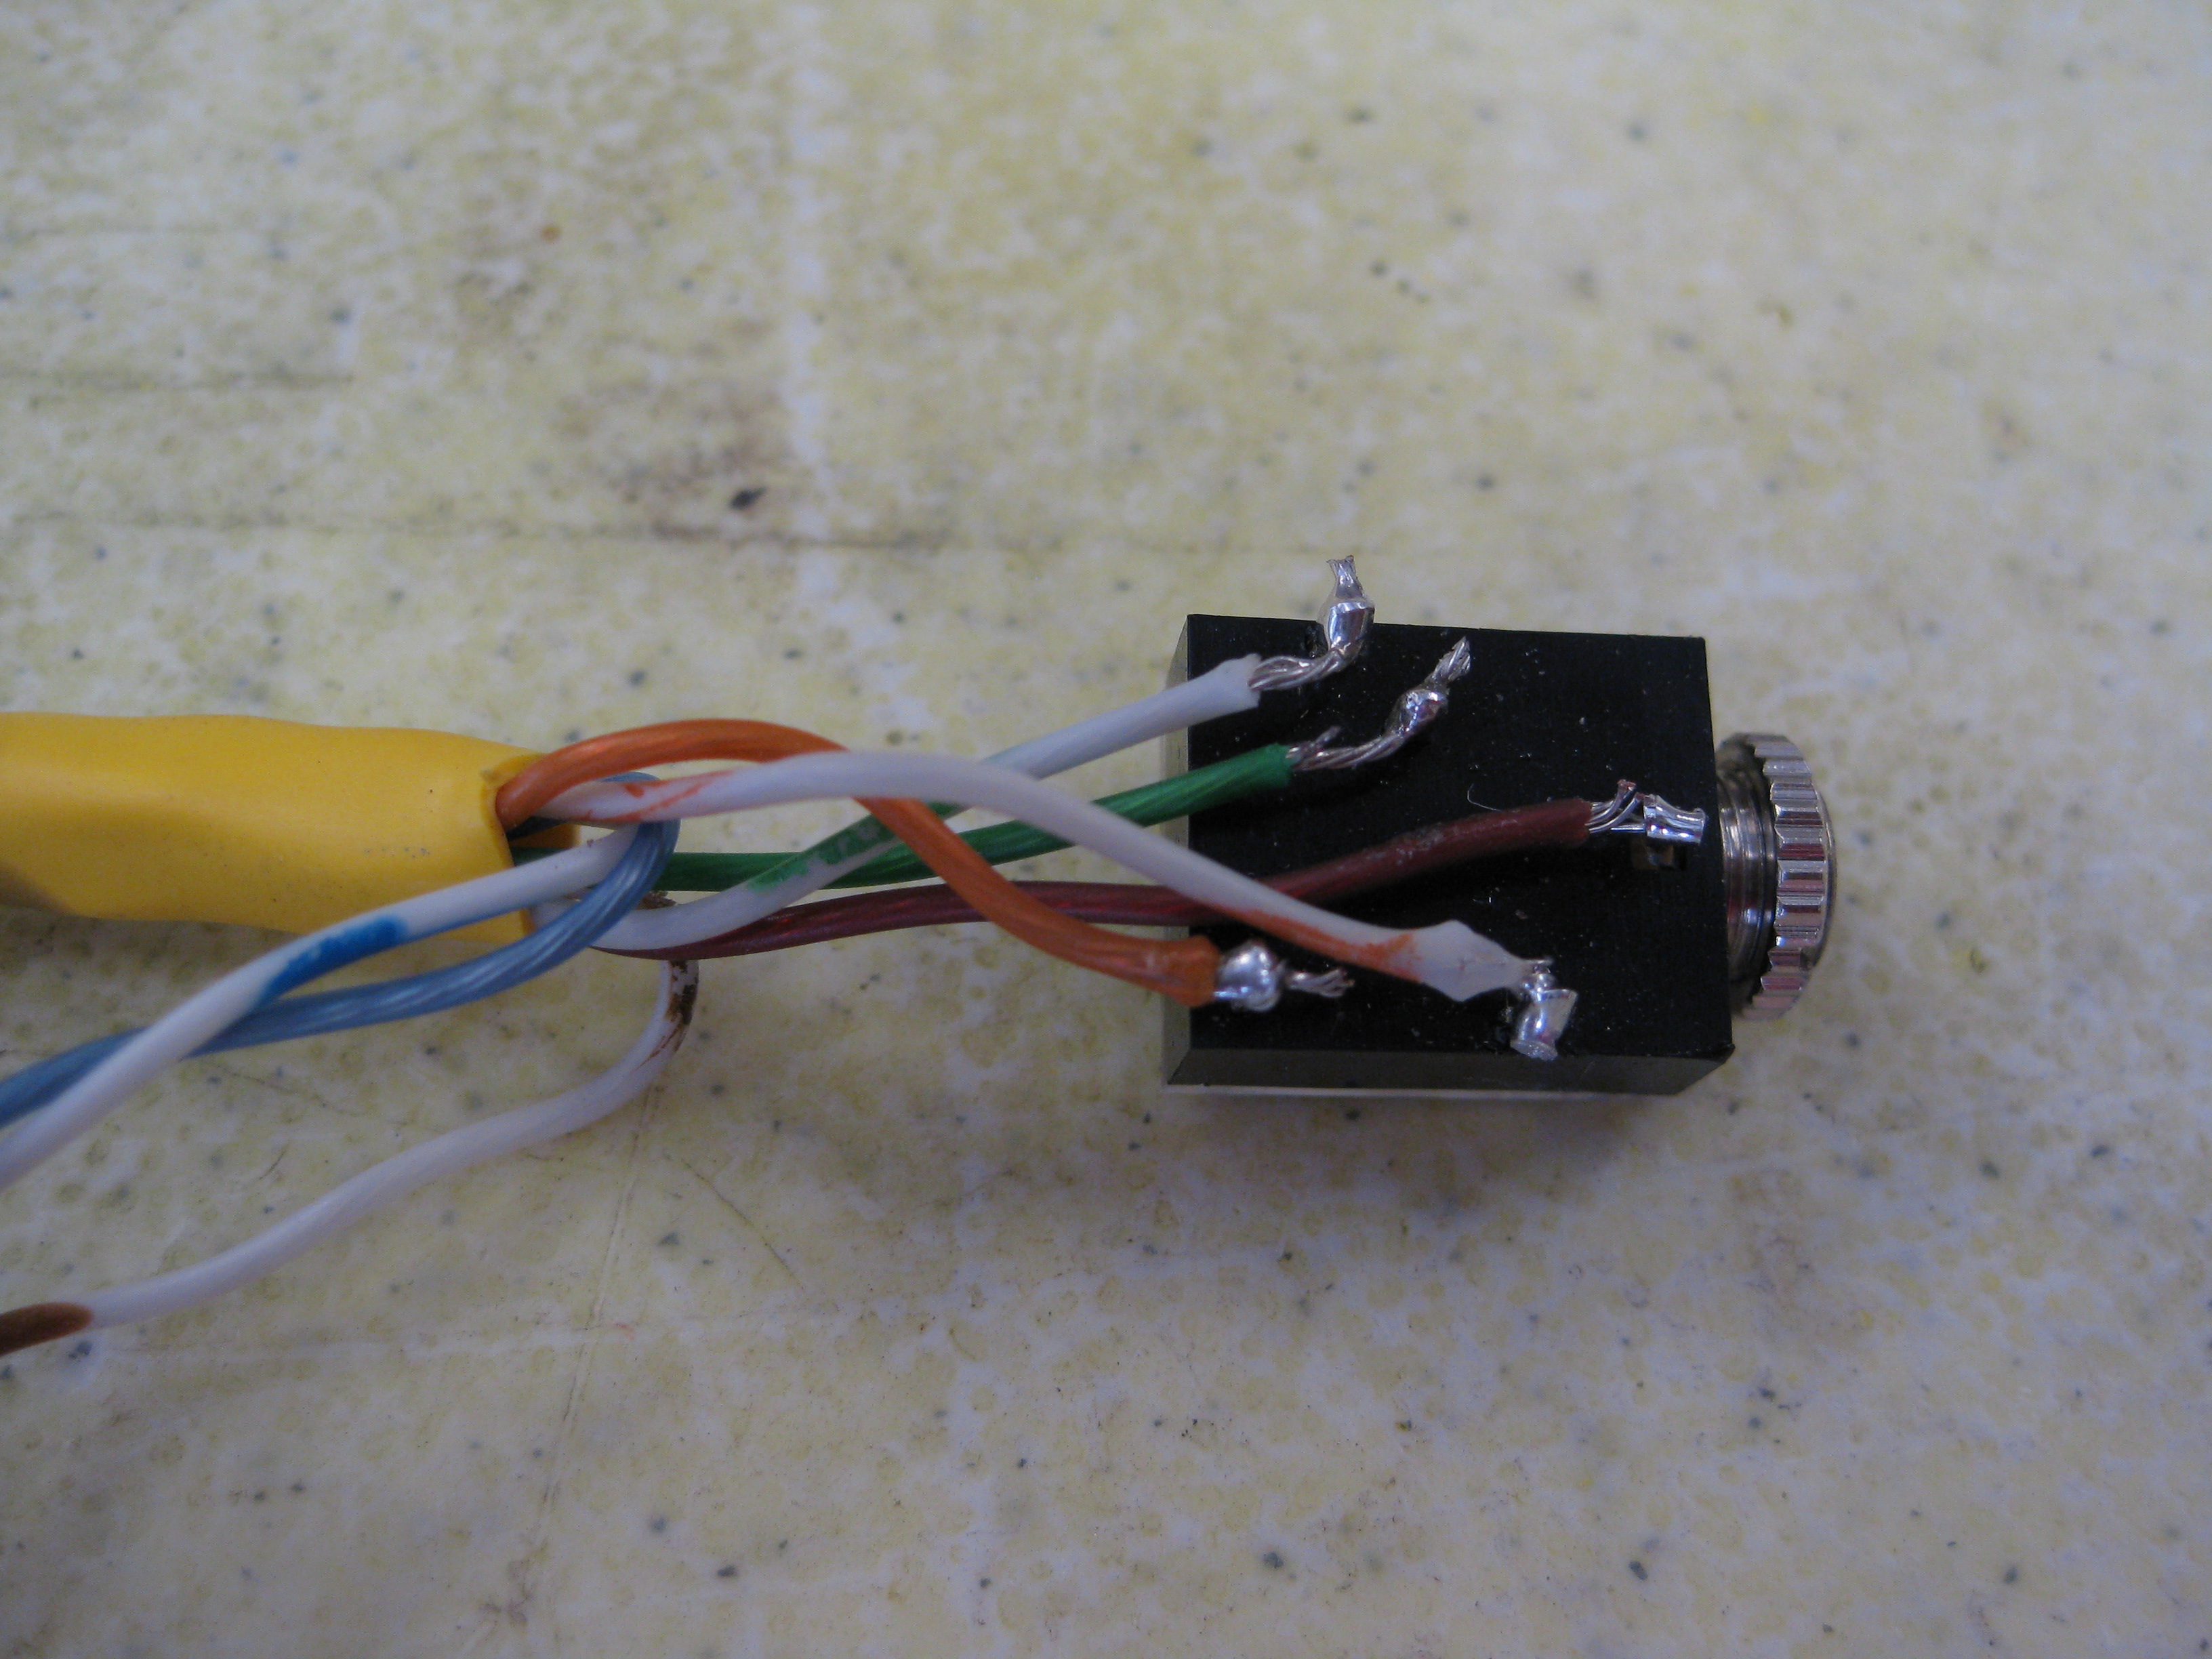
I managed to wire up a rig test harness using the 1/8" stereo closed circuit jack and it works like a charm. I had a spare serial to Ethernet cable and i cut off the RJ and soldered on an 1/8" jack. That will connect to the computer.
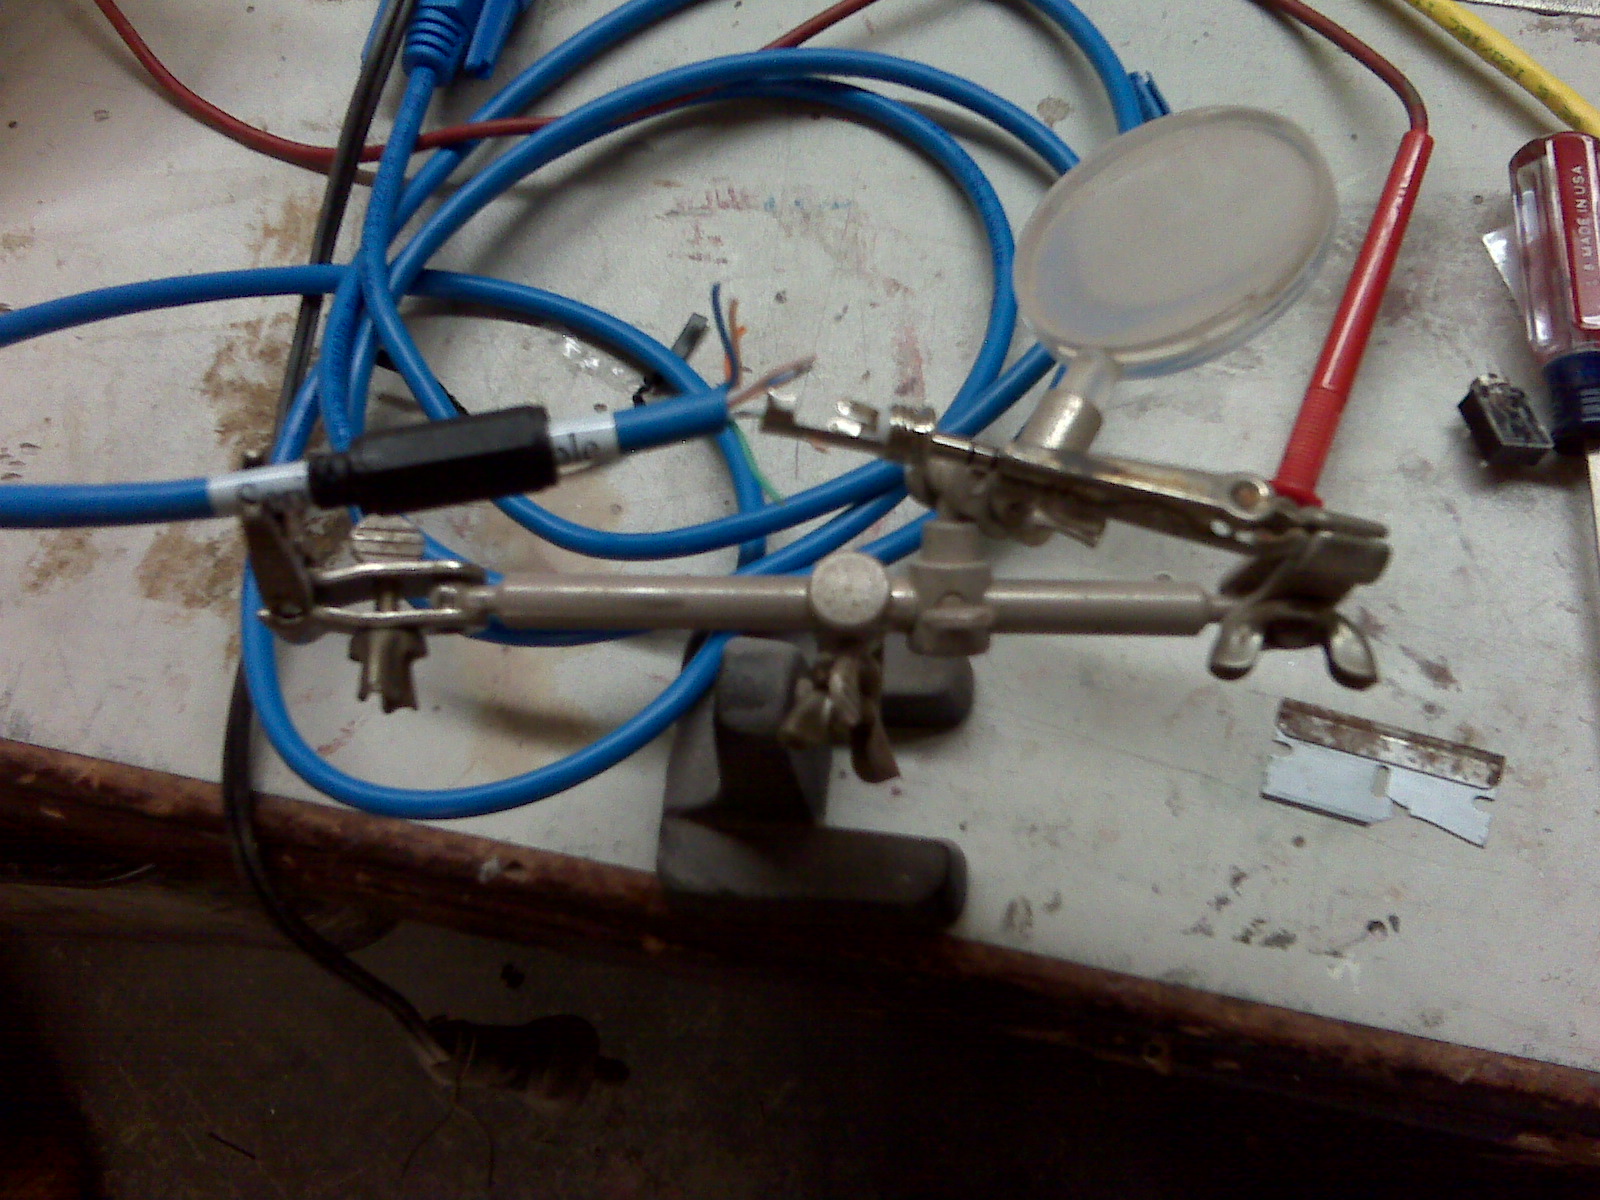

Next I soldered up the receiver jack that Ill mount to the wingtip for programming. Jack circuit looks like this.
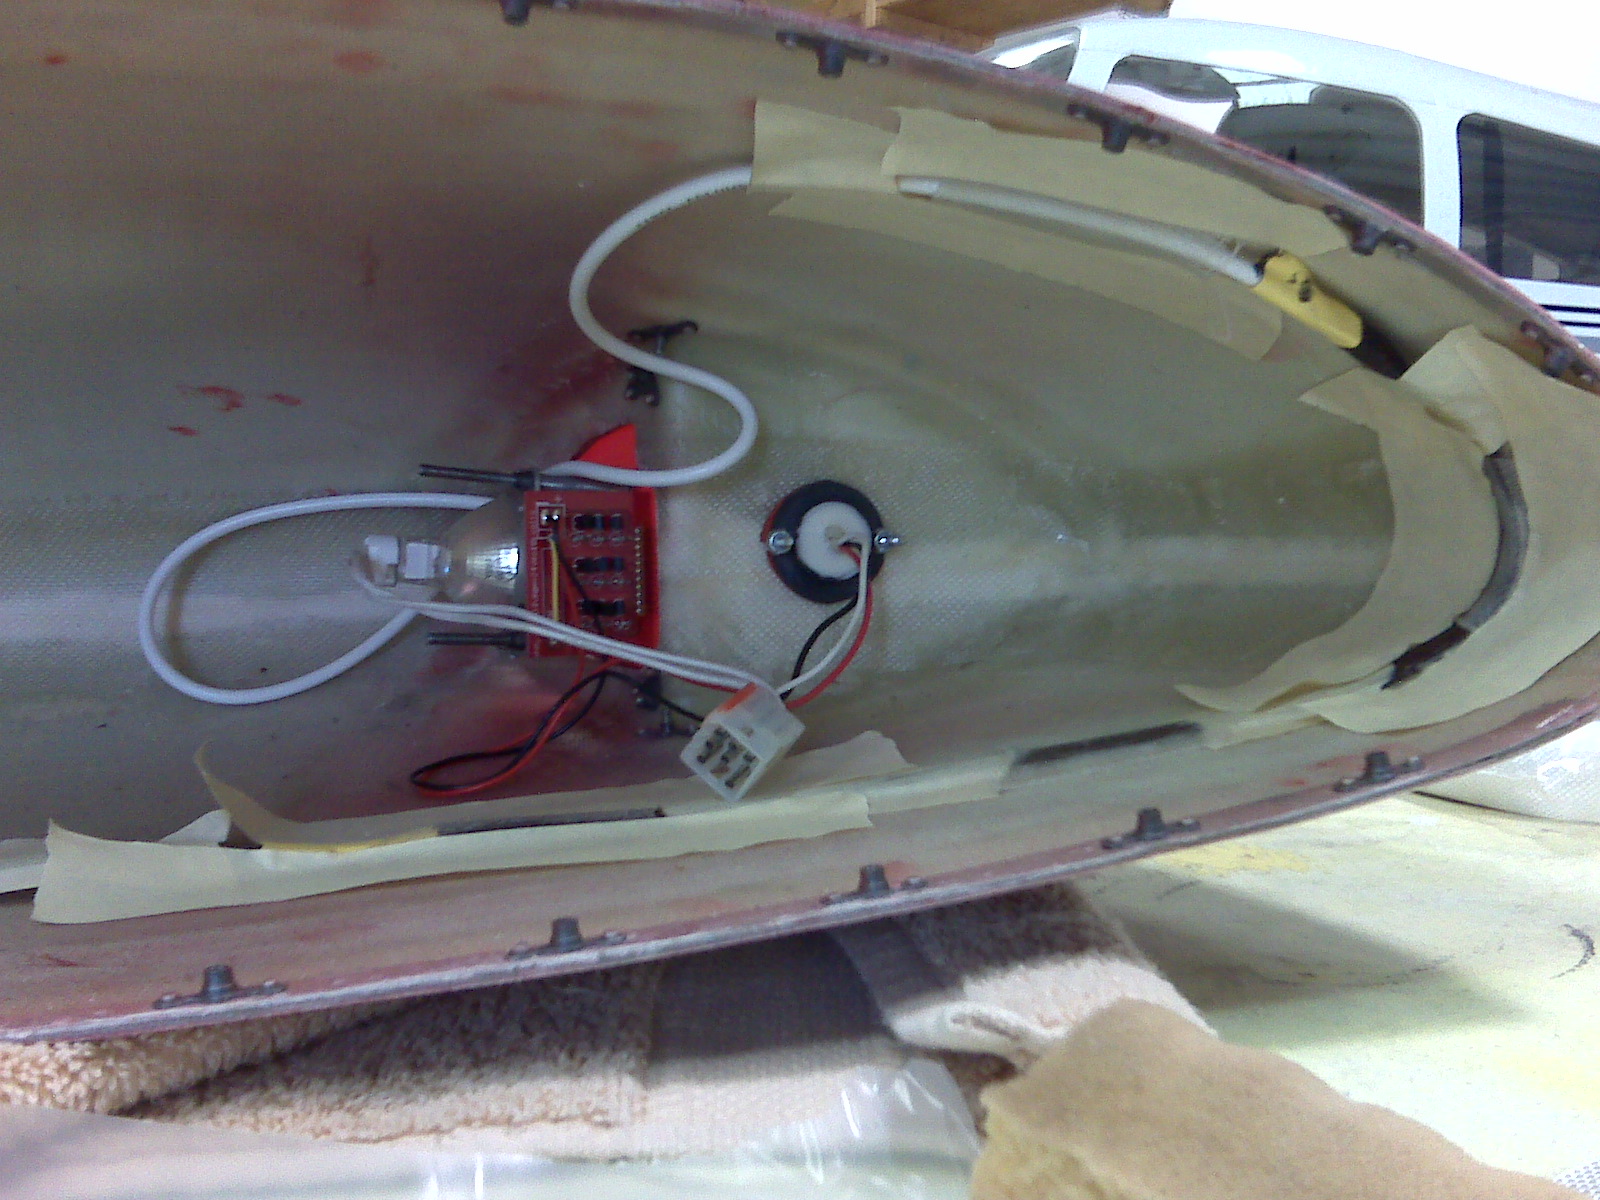
I plugged it all in and wllah, I have blinking GPS and PTT leds on the board. SWEET! Ill put up my wiring diagrams as soon as I finalize everything. Im making electrons faster than I can take the HAM test. RATS.
![]()
I cut the db connector off the GPS puck cause I did not need the wore length nor the connector. Too much length and weight.

I installed the 1/8" closed circuit receptacle into the aft rib wingtip for programming.

Mounted the transmitter on the outboard rib.
Buttoned up the wingtip area. Im a little concerned about the antennae running under my wingtip VOR antennae. Gonna have to just see if it works.
OK I got her working. Yipee. Now I need to go get my ham license and be legal.
Update 09/10/08
Passed my HAM test last night. Pretty easy after reading the questions and correct answers long enough. I believe the average Joe bag of donuts can pass this after just a few hours of taking practice exams on-line. If you want to ace it, I recommend studying the questions and answers. I printed a copy, blasted through it once. Marked the questions I did not know for sure, and studied only those I marked to learn. A couple hours of this and your good to go. I got a hundred. Key is, study the correct answers. Don't even look at the wrong answers. It might confuse you. Find your exam locations here.
Update 09/10/08 Performance
Im only marginally satisfied with the overall performance of the 300mw unit. There are a few gaps in coverage and it does not do well down low, which if I make a smoking hole one day, Ill want someone to find me down low. I recommend you get the 10w version. I was able to do some flying with another plane in formation who also had a wingtip installation and the 8w version. He had performed much better over the same flying area tooling around in formation.
Update 10/06/2008
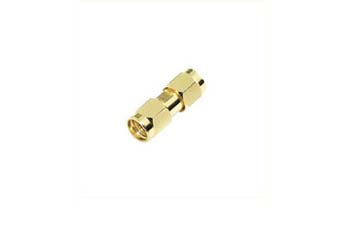
Today I turned 40. AHHH! OK I have installed the Micro amp. This goes between the Micro trak 300 and your antenna. This simple male to male SMA coupler from Radio Shack connects the Microtrak to the Micro amp.
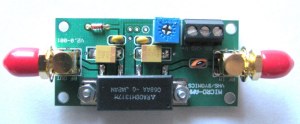
Now ~8w of transmission power, I can tell you that now I have really got packets being seen. Very good tracks below.
I had some transmissions from the GPS clock which was causing intermodulation noise getting through to my COM radio on a few frequencies in the 122Mhz range. Allen at Byonics recommended I install a 4700 PF capacitor across the GPS power and ground connection on the Micro-Trak PC board. (where the holes are above the DB9 connector). It was more convenient for me to install one across the wires at the Molex connector I have very near the board. This worked! SO now I believe I have worked out all the squawks and can say this rig works.
Cost?
Coupler $7
GPS $69
Microtrak 300 $105
J-pole Antenna $25
MicroAmp $50
Connectors, pins, caps etc ~$10
Total ~$266
Back to Super 8