
My first set of wings I built extended main tanks. Took the main tanks and added 2 bays to the main tank. This gave 30 per side. The generic plan is to order an additional skin with the kit along with an extra rear baffle, some extra z-brackets, and a few extra ribs. Just take a look at the preview plans and imagine extending the tanks and it will make sense.
I flew those tanks for ~1200 hours with no problems. But alias, I wanted even more fuel. Plan B. Full length leading edge tanks. Thanks to my good friend Patrick "Glider" Tuckey and his work on his 8, I had some ideas.
I have had plans where I wanted more fuel. Lots more fuel. 60 was not enough.
Time for more.
I liked his ideas, with a few exceptions. I did not like using the existing
outboard skin and making it a permanent deal riveted to the spar. Mine will
surely leak on the first day and require me to remove the tank. Also in Gliders
testing, he had no need for the transfer pump. So. on I went with those items in
mind.
I decided that I would build 4 standard vans tanks. Simple, easy repair, easy
parts. If I whack a deer, I build another standard tank. Hit a bird, build a
standard tank. But how to get around the pesky pre-drilled holes in the spar for
the outboard forward LE skin?
I did it this way. Build the tanks. Set the outboard tanks up on the wing spar.
Align the outboard tank with the outboard skin. Use the holes in the tank skin
as guides for drilling into the spar. Let the holes fall where they may. Its
essentially what I did on my first set of wings for the 2 outboard bays. This
will leave a nice ~4" gap between the tanks for plumbing. Only the inboard tanks
have indicators. This makes fuel flow accuracy more important than before.
Z-brackets. I used 2 sided tape. Let the Z-brackets fall where they may. Put
zbrackets on rear baffle with solid rivets not bucked. Tape rivets in place.
Your just trying to get the zbracket to stay in place. Put 2 sided tape on
zbracket side facing spar. Set tank in correct place. Push down so the 2 sided
tape hold zbracket in place. Remove tank and brackets are in the permanent place
you want them. Drill into spar web and your alignment is good to go.
Plumbing. In my installation, the engine only gets fuel from the inboard tanks.
Further, the inboard tanks only vent to the outboard tanks. If there is fuel in
the outboard tanks, it will get pulled into the inboard. Only the outboard tank
is vented to the outside air. Testing has proved this to work fine. My outboard
tank vent, vents at the fuse in the normal vans location. Note: Since a very
sealed tank is now mission critical to the success of this senerio, the Vans
usher caps are junk and had to go. I went with some double sealed locking caps
from ACS. I must have caps that will NOT leak or I wont get the fuel pulled into
the mains.
While I was building new wings, I went ahead and went with single piece top
skins. Just cause.
But wait. 4 RV-8 tanks are only 84 gallons. Where is the other 13? Well I went
ahead and built the same in wing smoke tank
as before. Only this time I plumbed it so in case I ever need it to double as a
fuel tank, its ready to go.
You dont get no build pictures cause I didnt take any. Its just 4 tanks on the
leading edge of the wing.
Did the wings slide into the fuse and the bolts line up? Like butter. When I
lined up the plane to drill the rear spar, it required no wing
movement/adjustment at all. Both sides perfect. Drill hole, done. A testament to
the repeatability of the pre-punched Vans products.
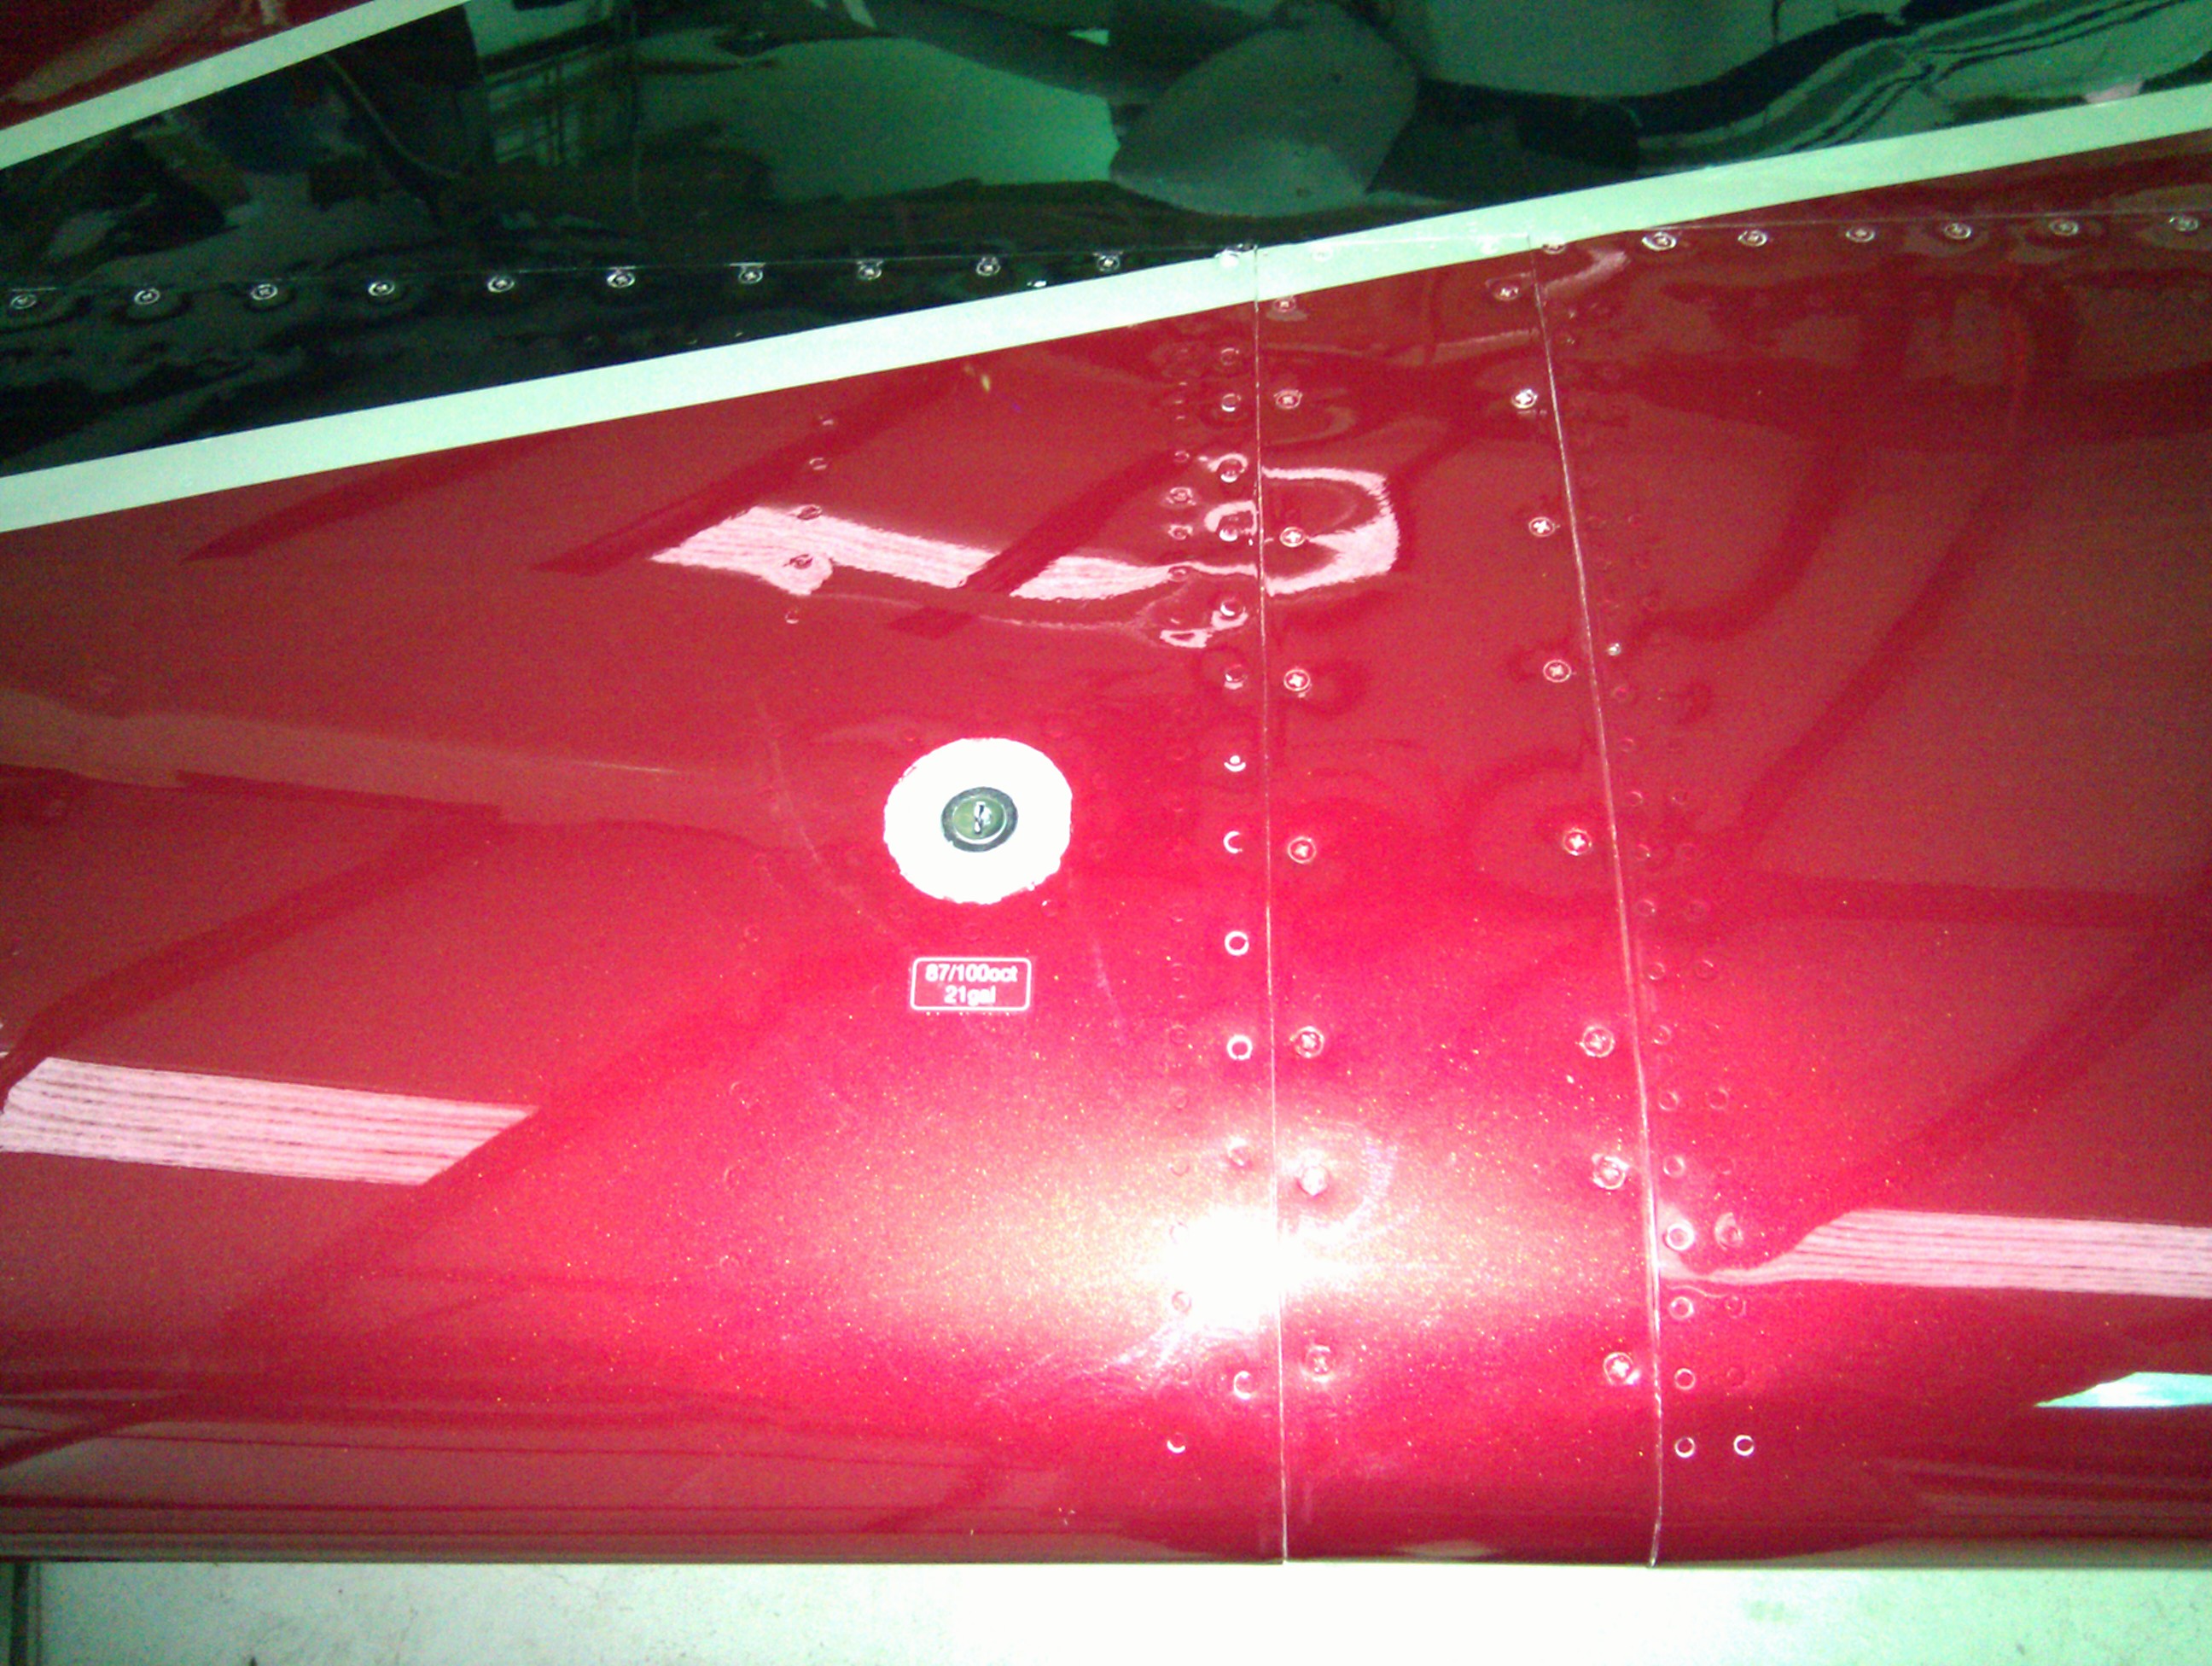
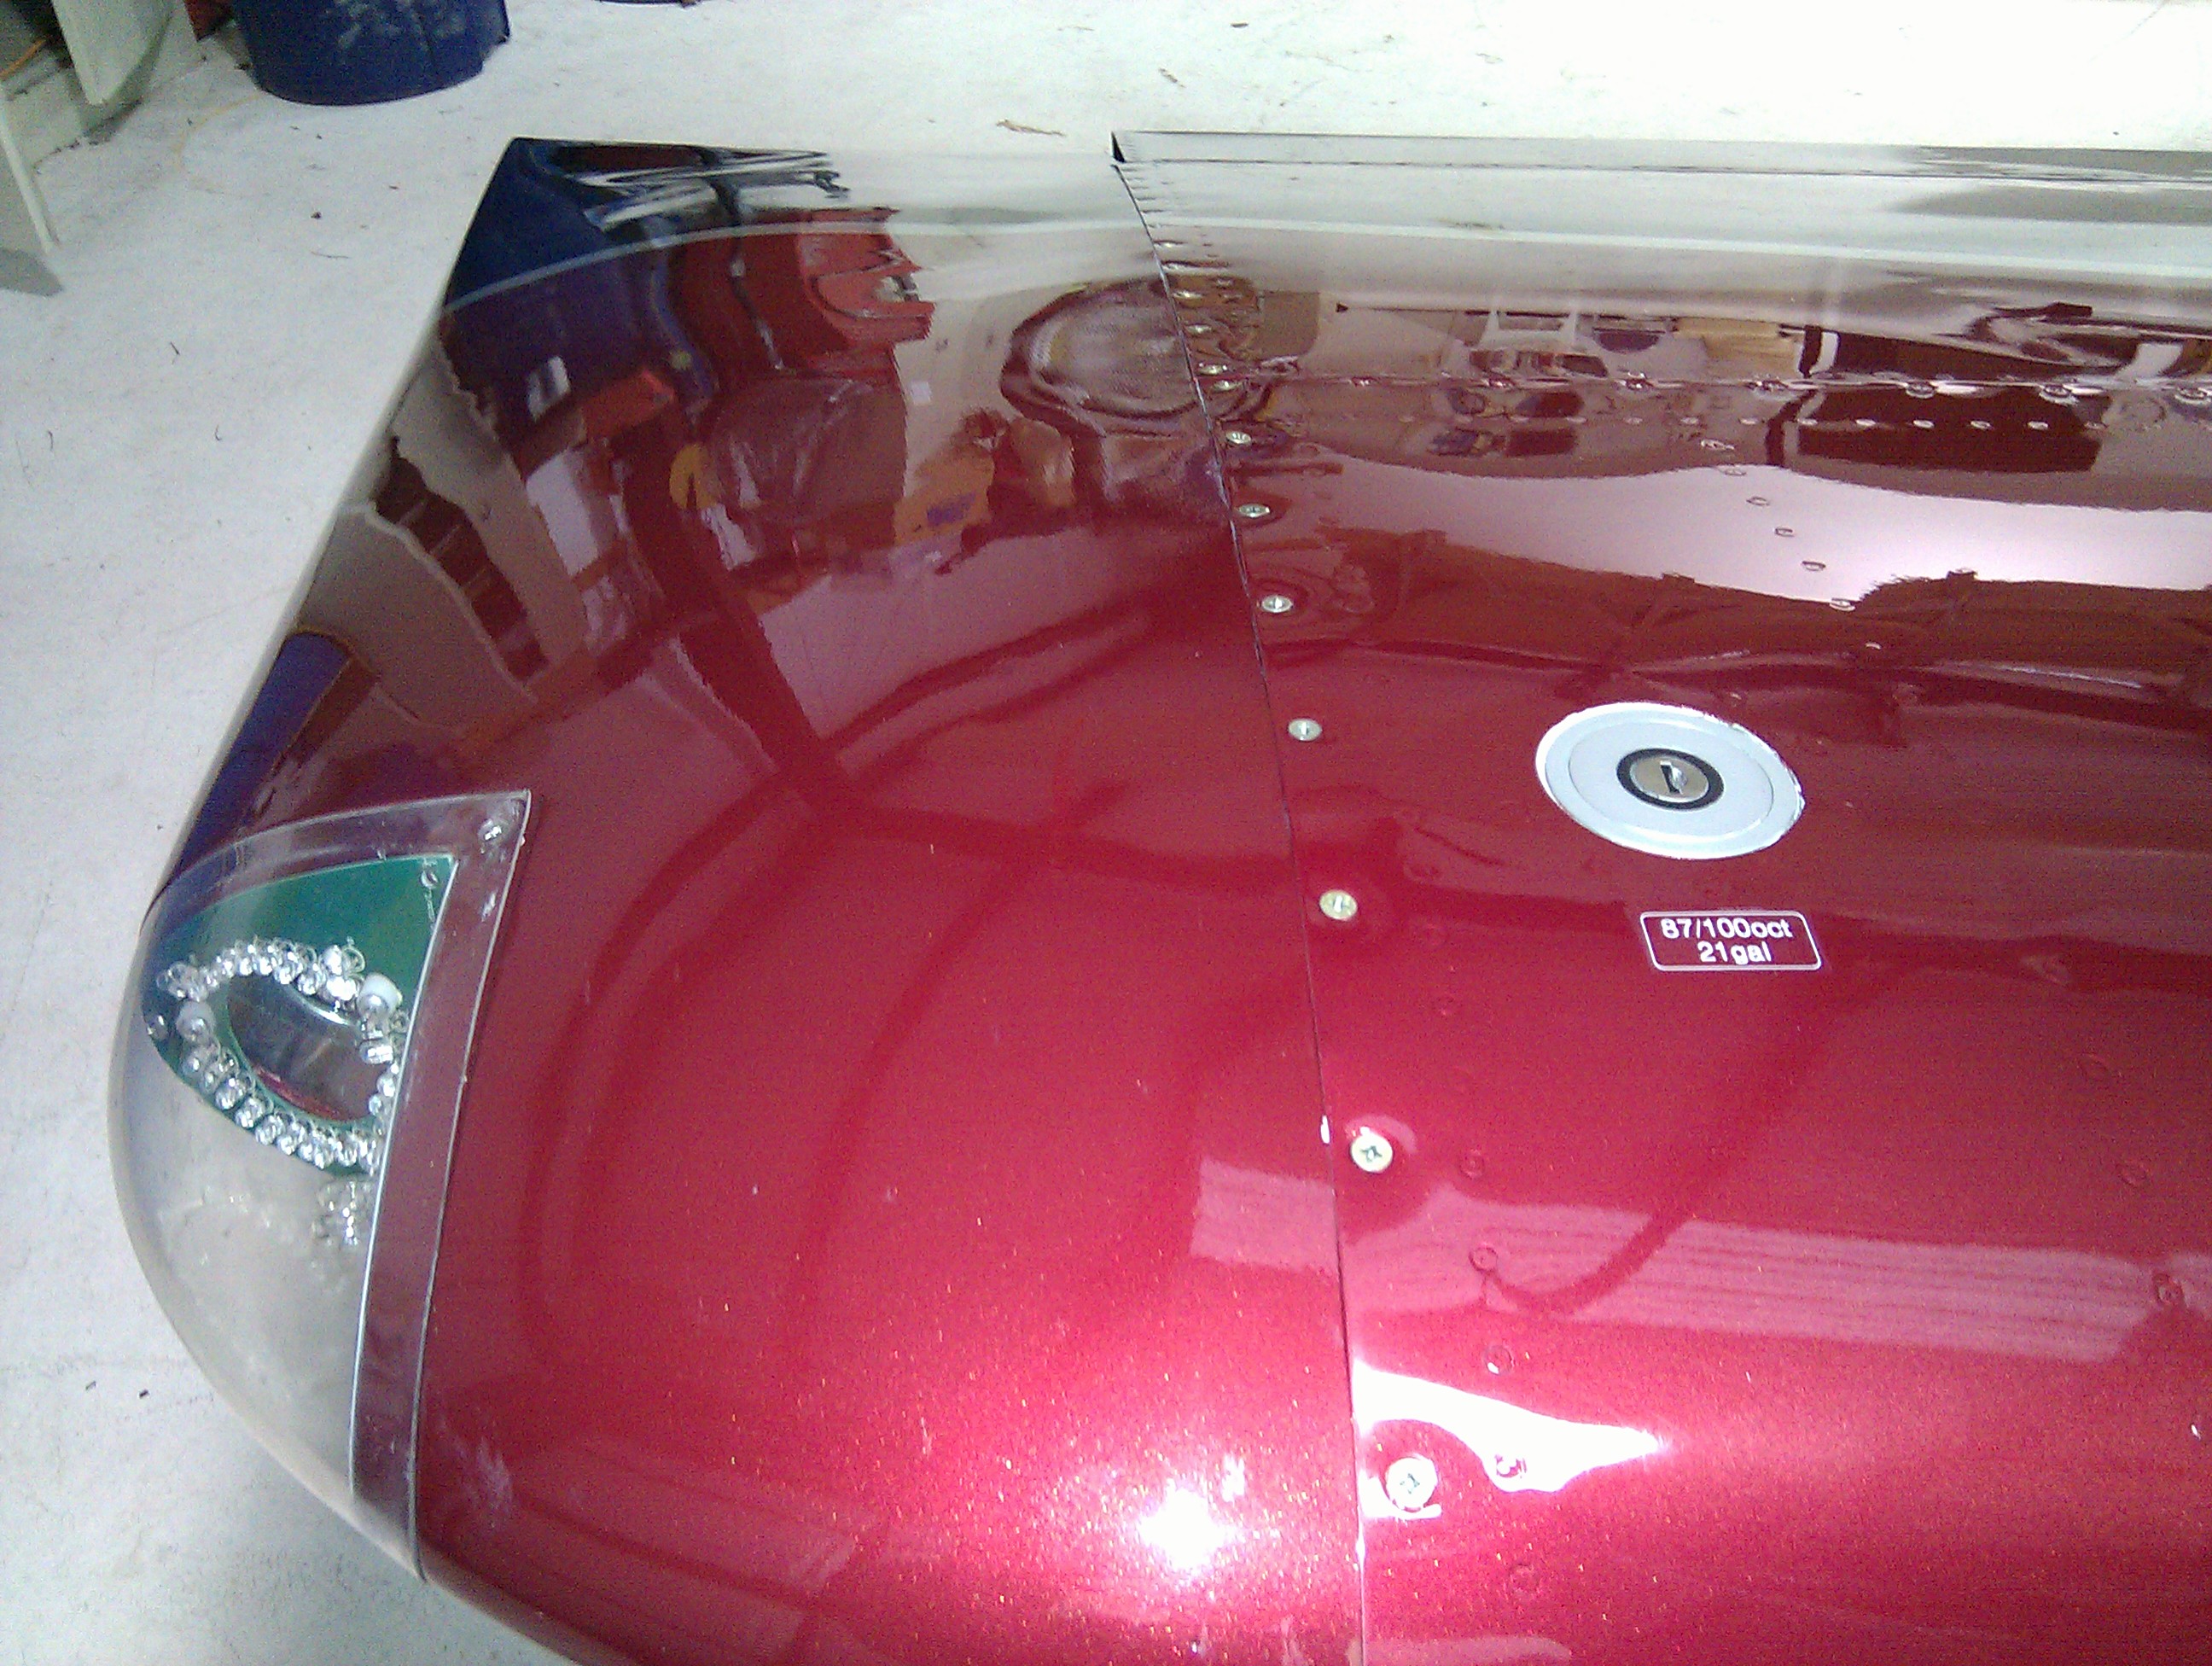
Here are a few finished pictures. You will notice the cover strip in the first picture covering the plumbing area.

Back to Super 8