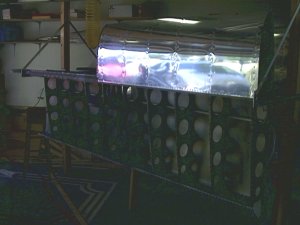
The final stage to the wings is riveting the top skins. This can be a bit tricky due to access problems. And definitely get a friend to help. The bucker must get into some tight spots. Here is the wing ready for top skins.
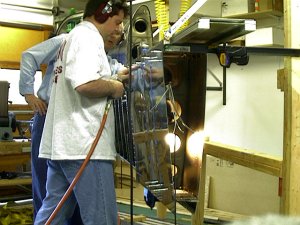
Here is a friend Dick Rude helping me with the bucking. Dick is a new member of our EAA chapter and offered to help out so he could learn if he has what it takes to build a plane. Well Dick, if nothing else, your a great bucker!:) Plan on a good 3 hours each wing for riveting top skins.
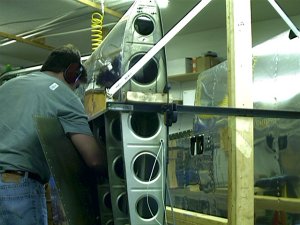
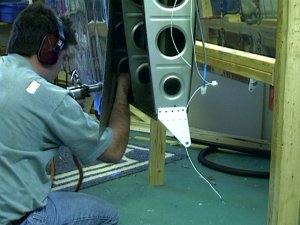
I did screw up though. In order to do the bucking, you have to bend the skin back. (notice pictures below). Well the skin will not bend with the aileron gap fairing in place. (not shown here). I put mine on too soon cause I had to drill out the rivets and remove it in order to be able to bend the skin. Here is some tight spot pictures bending the skin. Be very careful, smilies are easy to get with a bent skin. I have a few more added to the plane.
There are some some odds and ends to do on the wing. Wing tips, some additional wiring, filling of smilies (places where the rivet gun slipped) etc. But this stuff should wait till the fuse is complete for fear of hanger rash.
BTW, what a momentous occasion breaking down the jig. This has been up since the very first tail piece was built. Depressing? Hell no, I'm tired of looking at it and I'm ready for a change of scenery. It has served me well though. I will use most of this wood on the fuselage jig since it is well dried wood and minimal warpage is likely. Sure was nice having the space back in the garage with the wing and jig gone, if only for a day. Cause the fuse was waiting to make its way into the garage.

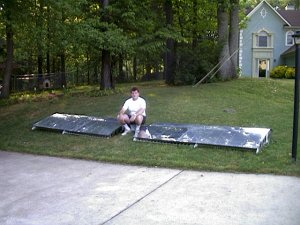
And of course, I am now the proud owner of 2 very nice wings.
Last updated 11/05/2002