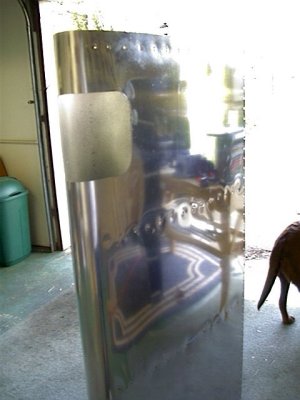
The landing lights were a breeze thanks to Vans accessories. Mount, light, and Plexi-glass are all included. You do have to cut a serious hole in a perfectly good leading edge, but other than that it was only an 8 hour job. Also the light kit says this can be done on a completed wing. I don't know how, but that's what it says. I had it easy, thanks to the leading edges being off the wing.
Step 1, take a dremel and a cut off wheel, using the plans, and cut that hole in the wing. (btw, left picture, thats Java's tail as he quickly exits the garage. He does not like to be in photo's. Wait until he finds out I got his tail in there. He will pout for a week.)
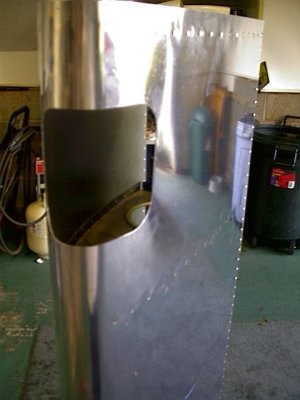
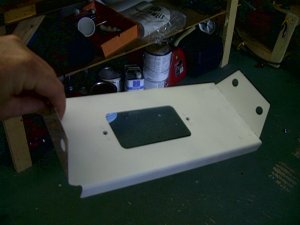
Then, you do some finagling of the mount to get it in there, drill some holes in it, put some platenut on it, and prime.
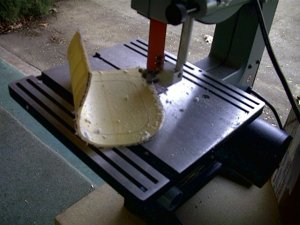
Next take the plexi-glass, protect it with some tape, mark it, and cut to fit. I used the band saw which worked beautifully but other techniques work just as well with out one. Like scoring with a straight edge and breaking it over the corner of your bench. Cutting techniques are in the plans.
Then take aliminum strips, silicone to the plexi-glass, with platenuts
installed. 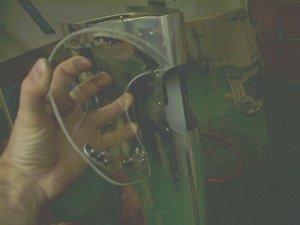
Then screw the mount in, and mount the light. The light is a 55watt halogen. Very bright. Much like a light on the roll bar of a truck. Focused beam that travels some distance. I lit up my neighbors house 40 yds away with it while testing it. Small, light weight, but very powerful
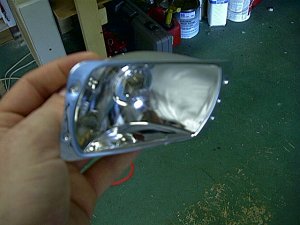
Then put it all together and your done. I definitely recommend this option. I got 2, one for each wing. But Im sure one would do the trick. Bad picture, but you get the idea.

Last Updated 11/05/2002