Well according to others, the flaps were supposed to be the easiest of items to build. Well I sure didn't think so. The primary problem was the control arm bracket, which has some unusual bends in it and the plans stink here, I mean really stink (sorry Van).
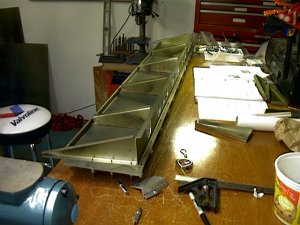
Here is the general interior structure of the flap. This part is not very complicated and built much like other surfaces with a forward spar with lightning holes to save weight, ribs in the middle , and skins.
But its this little gismo that caused me hours of floundering with the plans and parts. I ended up destroying my only 1/8th inch sheet for one piece and ended up fabricating from welding 2 pieces together. Here is the gismo. It's the control arm plate for the flap root. Looks simple, but it's not.
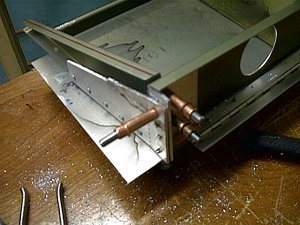
Thanks to Sam Buchanan's site (see my links page) for some great pictures of this item , and Franks supplemental instructions (also on links page) . I would still be destroying parts if not for their info.
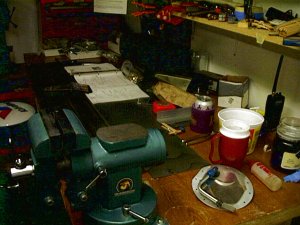
Not related to the flaps, but interesting item, here is what my bench often looks like if I don't keep up with cleaning and organizing. Late night coffee, and doing too many things at once leads to this. I know I have let it get outta hand when I spend 10 minutes looking for my cleco pliers.
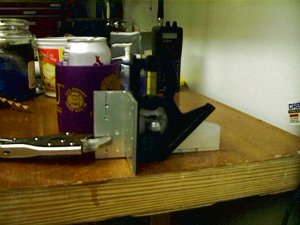
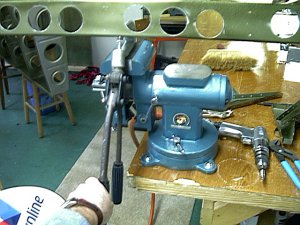
I also learned a new trick using my hand squeezer and a vise. I normally don't use the hand squeezer due to its weight and awkwardness, but found mounting it in a vise makes quick work of dimpling flanges that will not fit under the c-frame dimpler. One hand operates the squeezer, the other moves the item along. This is twice a fast as any other method, and way way easier. Especially if you have a helper for the larger items. One feeds the item and the other operates the squeezer. You wont believe how fast and easy this is.
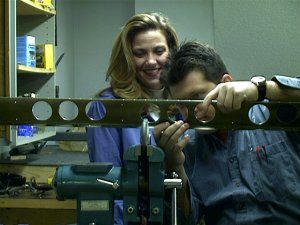
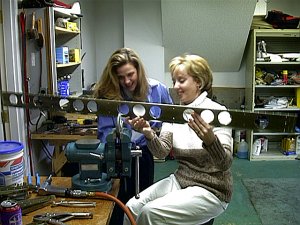
Once Julie and I figured the system out, Julie's friend Kelly stepped in and helped out. Don't they look like they are having fun?
Last updated 11/05/02