Tanks 3
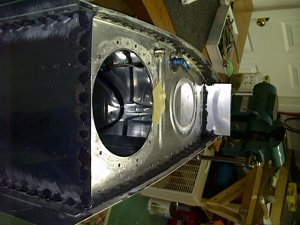
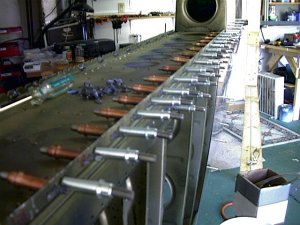
Here is a view of the inboard rib station, left wing. All sealed up and nearly ready for the leak test.
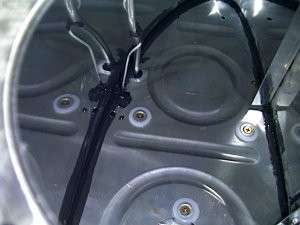
Here is a good view, through the access plate looking into the first bay. You can see the goop sealing all around the rib
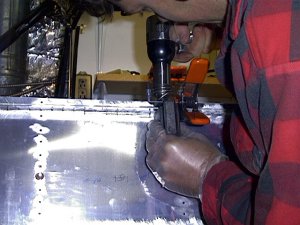
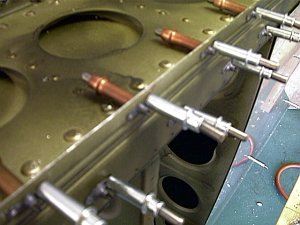
I found a great method of getting the back plate very tight. Use a clamp right next to the rivet you are doing. I went down the length, doing every 3rd hole this way. Then went back and riveted the rest. No wooden blocks required here as denoted in the plans. A very tight seal. Notice the plastic gloves. That goop is nasty stuff.
One way you will know you have a good rivet is to see goop ease out around the head as seen here. Then I know there will be no leaking from this rivet.
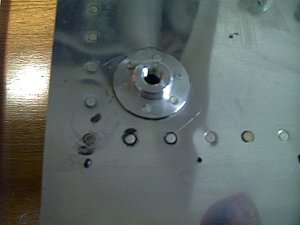
Mounting the tank to the spar is pretty straight forward. Drill holes, mount platenuts, and secure to leading edge with the doubler strip. I would NOT drill the tank to the spar until you have the leading edge skin and Doubler in place , to carefully align the tank to the leading edge. This is a bit tricky and alignment will take straps and lots of maneuvering so as to not have a gap on the doubler strip. Here is how I drill all platenuts. First a pilot hole for center of platenut with a #30 bit (gold color). Then cleco in place from the back. Then drill one ear #40 bit (silver) and cleco that, then drill the final ear and your done. Will have perfect alignment every time.
See wink tank repair section for testing and repair of leaks. UGHH!!!
Last updated 11/05/02