Wing Tanks 2
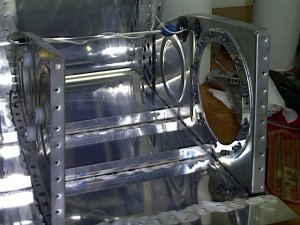
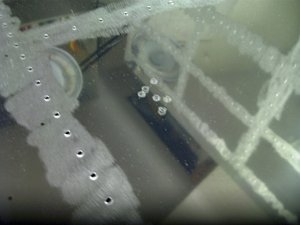
Here is a rib with the access hole in it. This will allow access into the tank from inside the plane should you ever want to get back in there. (pray you dont!!).
The vent line is running across the top and the wire for the fuel sending unit is there as well.
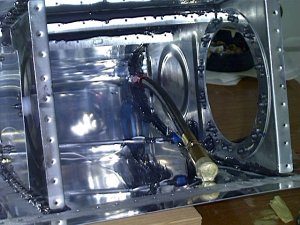
Below is the flop tube. A flexible fuel pickup that allows fuel to be drawn, even while in sustained inverted flight. The tip is weighted so it always goes where gravity pulls it. When inverted, gravity will pull it to the top of the tank, which is where the fuel is.
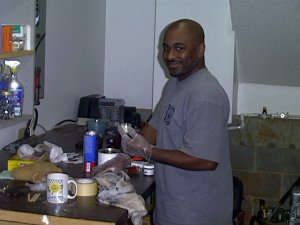
Anywhere that fuel can escape, you must score it with a wire brush (in a drill is the easiest) before applying the dreaded "goop" The picture to the right is my buddy Reggie Hook. Misery loves company and Reggie is helping me get through the "goop" stage. Here he is mixing up another batch of "goop." This is nasty stuff. It seals the tanks, much like silicone, only more deadly. Gets on anything remotely close to it and once on it, it ain't commin off ever.
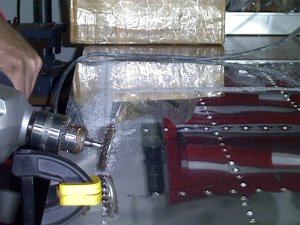
While scoring with the wire wheel, I found that the dimpler produces little plastic ring pieces from the protective skin. I did not know these were left behind after peeling off the protective plastic from the aluminum skin. I wonder how many of these little buggers are running around the tail that was completed last month? Hmm...
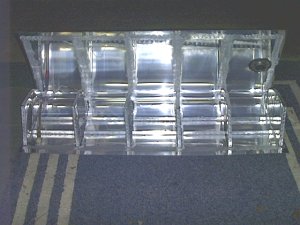
Here is a couple of ribs in the skin pictured. Getting everything lined up, cause once you commit rivet to metal, the die is cast and there is no turning back.
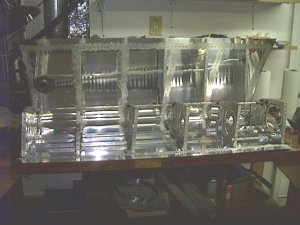
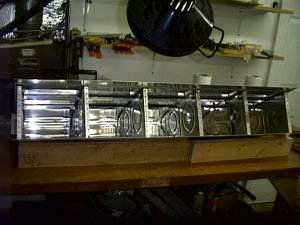
Below is a completed tank, less the back plate.
A few notes on the tanks to builders:
The 2x2 1/2 aluminum angle that mounts to the forward inboard rib(s) is a bit confusing on the plans. The 2 1/2 length side is what slides into the fuse. The 2" side is mounted to the rib.
The rivet holes on the baffle for the ribs are 4's on all ribs, except, the end ribs, they are 3's. Only the end ribs get flush rivets so only dimple those. This means that during rib preparation, the flanges for the skin are 3's and dimpled, the flange for the baffle is a 4 and NOT dimpled. (except the end ribs, those are all 3's and all dimpled.)
Getting the ribs down into the skin is very important, due to the close tolerance holes for the skin to baffle. However you have to, crank those ribs down into the skin before committing drill to skin.
Read those plans carefully on rib hole locations for venting, fuel flow, fuel fail over, and wiring if you use the capacitive units, and don't get cruising along and put holes on any end ribs (don't ask me how how I know this). Put big signs on those end ribs saying "NO HOLES"!!!
Last note: Left is Left and Right is Right, Left, right, left, right.....ok im sitting in the plane and left is over there which means this is the left rib..... OK listen up folks.... every time you pick up a rib to do something to it I want you to go through this scenario above with the left right cause it WILL bite you in the #$@!! if you do not keep these straight. See my Uttoo section for details on why this is the largest and last note.
Last Updated 11/05/02