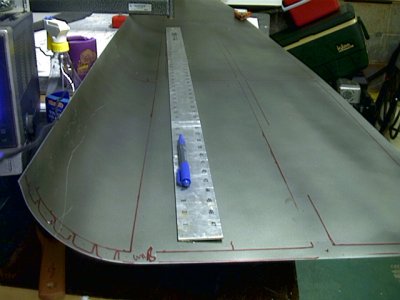
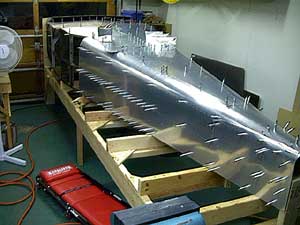
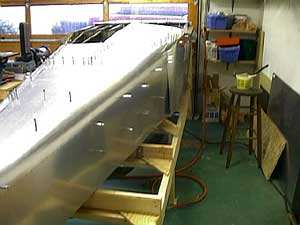
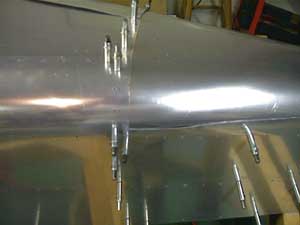
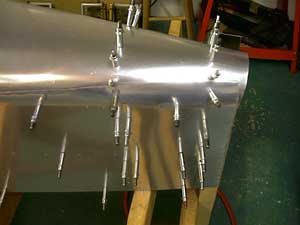
This is a fairly straightforward process. Unlike the other skins in the kit, these must be laid on the frame first and marked for where the stringers, longerons, and bulkheads go. You strap them on and go underneath and mark them. Once marked you know where the pieces connect, then you pull out your ruler and begin marking for rivets. Most of the spacing is 1 1/4" spacing. Once marked you drill the skin, then refit to the frame and drill through the frame. You can see the red marks here where the stringers are.
Be careful, some holes are easiest back drilled from the frame first, particularly those holes that go through several pieces of skins in an over lap location. Use a 2x4 to prevent crushing the frame with the straps. I have provided several views. Final trimming not done on several.

Here's a tip:
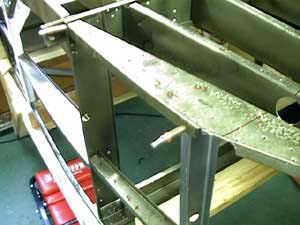
This rib below, don't rivet it in place until the bottom skin has been drilled to it. You cant dimple this with it in place. This tip came from Paul's troubles holding a c-frame up to it to try and get it dimpled.