Fitting the rear skirts is probably one of the most agonizing tasks of the entire project. A compound curve must be worked into the skirt. And messing it up means holes in the canopy and support arms. Many people have screwed up these pieces and I did not want to be one of them.
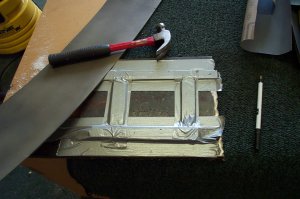
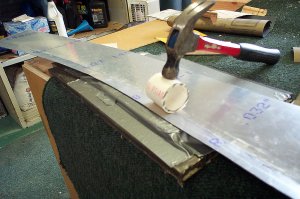
The real problem is that the canopy rail sits even at the top, up a 1" on the side, and sits back flat again as you get toward the longeron. This means the skirt must conform to different distances from the fuselage. I tackled this first by putting a bend in the leading edge, about 1" from the leading edge with this rig below. I took my steel back riveting plate, and duct taped wood blocks in it. Then I took a 2" piece of PVC and banged a bend in the leading edge of the skirt, using the wooden blocks and the steel plate as a backing for the bend. I would bend(bang with hammer on the PVC) a little, check the fit, and bend some more. This worked extremely well and looks terrific.
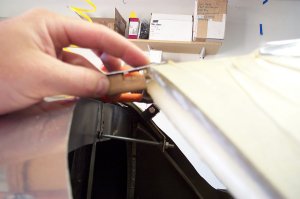
The next trick I came up with is a little tool that will let you find the center of the rail for drilling. A simple piece of block with a piece of scrap aluminum screwed to it, and a notch cut in it for the plexi to slide in. The scrap piece of alum. has a hole in it exactly 1/4" from the wood block that allows me to run it down the rail and mark the center line for drilling. Once I have the center of the rail marked, I use this line to mark another reference line from there forward 3" on the canopy. With that line, I laid the skin on the rail and go back 3" and I have the rail dead center in my sights for drilling. Also put an 1/8" spacer under the catch blocks in the rear to raise the rear up a bit. That way if you get a good fit with the canopy up 1/8" now, when you take the blocks out, she will drop down for a really tight fit.
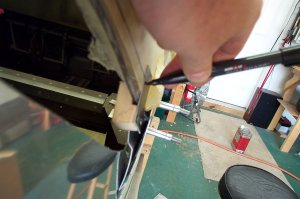
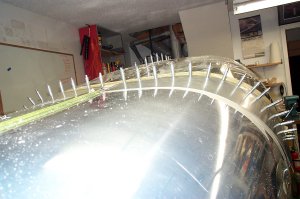
Pull, and tug, pull and tug. Tug down hard, pulling forward at the same time. Don't be shy. Put some weight into it. Each hole carefully drilled and you work the compound curve in.
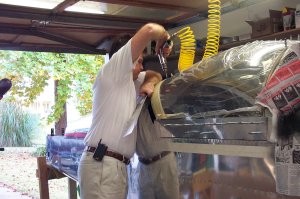
And presto, not a gap anywhere. I mean tight as a drum! The key to this maneuver is to get a good bend in the leading edge first, before drilling. I mean a good bend! Put some curve in that thing first.

Thank goodness that's over and they came out great. Now it's time go go back and enlarge every hole to 1/8" and tap for 6/32 where appropriate.
last updated 11/05/2002