
I had to begin the rudder (out of order from the plans) due to a delay in getting parts. Turns out the rudder was a piece of cake. Mainly due to "Back riveting". Back riveting is where you rivet against a piece of flat steel instead of a bucking bar. This is great for 3 reasons:
NEW RULE!! When ever possible, backrivet
Below you can see a stiffener (angled aluminum) being riveted to the inside of the rudder skin.
Notice all I have to do is hold down and squeeze the trigger and Bango... a perfect rivet job.
BTW, first you put the rivet in from the outside, use masking tape over it to keep them in when you turn it upside down. (the plans say don't use masking tape. I don't know why cause it worked great for me.)
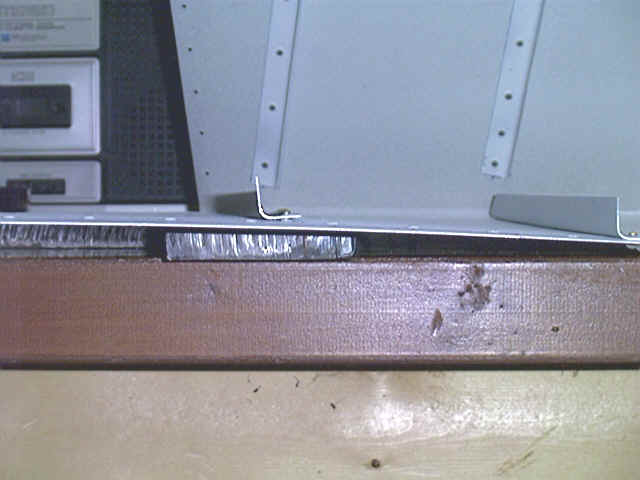
Below you can see the stiffener, skin, steel plate, and bench. A steel plate is required under the skin for the rivet to hit against during pneumatic banging from the gun which would be done as seen in the picture above.
Once you get these aluminum angle's (stiffiners) riveted in, you build the forward spar. Its easy. Then you fit the frame to the skin and rivet some more. One new task is the bending of the forward flanges to make a half circle for mating.
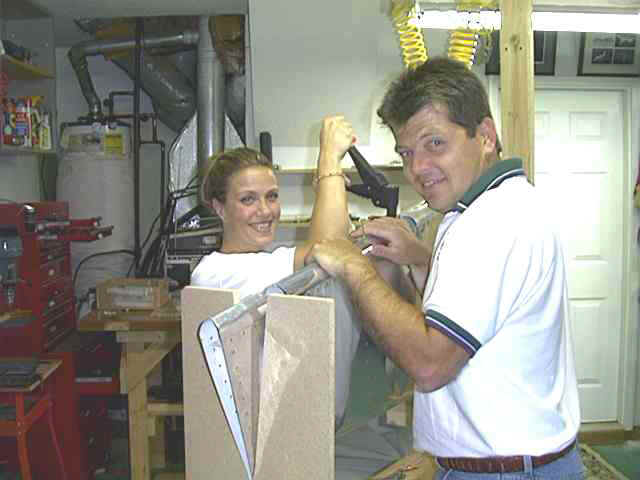
Below you can see Julie and I using "pop" rivet to secure this half circle along the leading edge of the rudder. A hand squeezer(pop rivet gun) is used to do this, since you cant get behind these rivets with a bucking bar. I hold the pieces in line, Julie squeezes the rivets in.
Last updated 11/05/02